
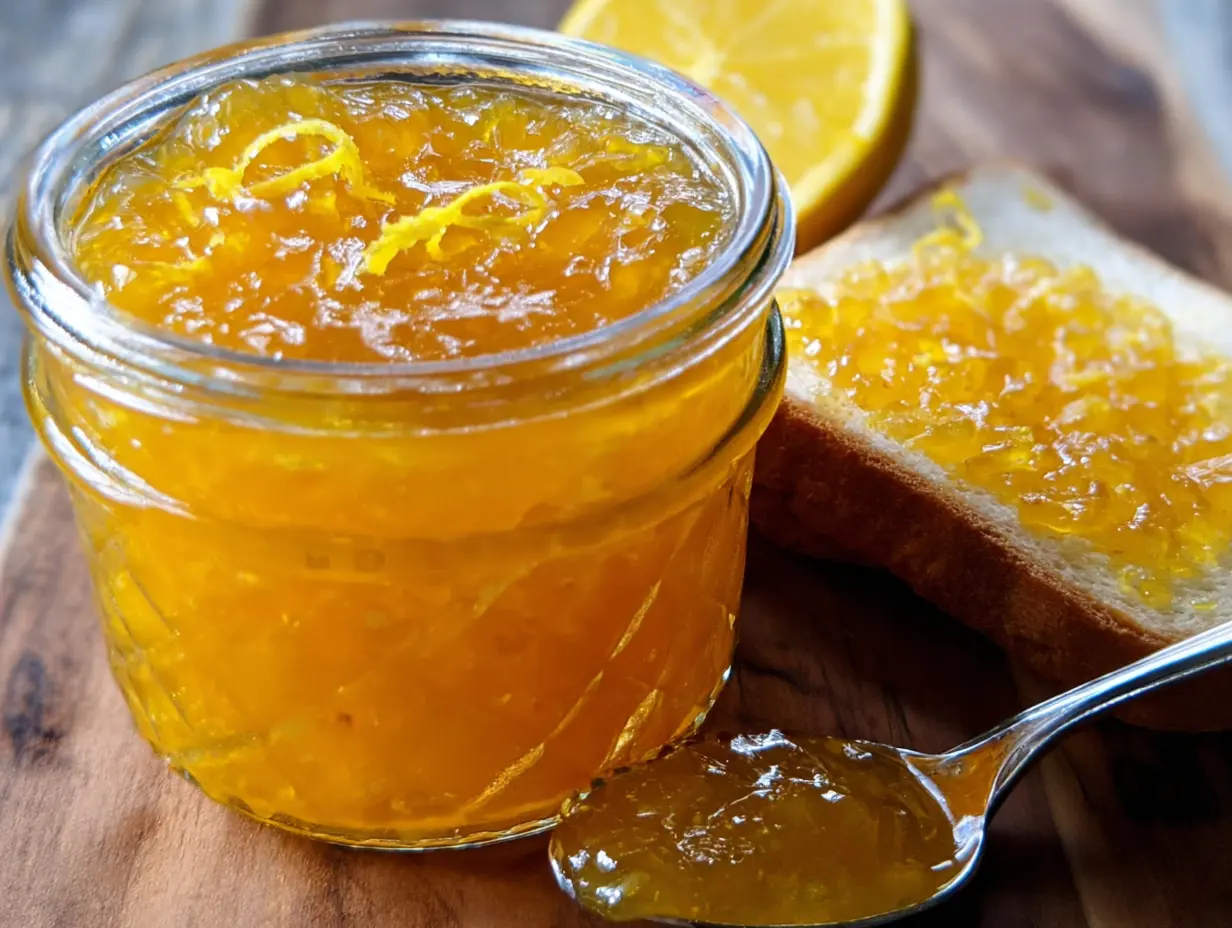
There’s nothing quite like the vibrant, zesty aroma of fresh lemons to make a kitchen feel alive. I first fell in love with this Italian Lemon Jam on a trip to the Amalfi Coast, where lemons are practically a way of life. This recipe bottles that sunshine, creating a bright, sweet, and tangy spread that’s worlds away from anything you can buy at the store. It’s an incredibly simple preserve to make, turning just a few basic ingredients into a jar of pure, golden delight that can brighten everything from your morning toast to a sophisticated cheese board.
Why make this recipe
If you’re looking for a recipe that delivers a huge flavor payoff with minimal effort, this is it. Here’s why this Italian Lemon Jam deserves a spot in your kitchen rotation:
- Intense, Pure Flavor: By using both the zest and the juice, you get a multi-layered lemon taste that is both bright and deep. It’s refreshingly tart and perfectly sweet.
- Incredibly Versatile: This isn’t just for toast! Use it as a glaze for chicken or fish, a filling for cakes and tarts, a swirl in your yogurt, or even a base for a zesty cocktail.
- Simple, All-Natural Ingredients: With just lemons, sugar, and water, you know exactly what’s in your jam. There are no artificial preservatives, pectin powders, or hard-to-find ingredients.
- A Perfect Homemade Gift: A beautiful jar of homemade lemon jam makes a thoughtful and delicious gift for friends, family, or neighbors. It’s a little jar of sunshine they can enjoy anytime.
Ingredients
- 4 large lemons
- 2 cups granulated sugar
- 1 cup water
- 1/2 teaspoon vanilla extract (optional)
How to make Italian Lemon Jam
Making this jam is a simple and rewarding process. Just follow these steps for a perfect, glistening result every time.
Step 1: Start by preparing your lemons. Wash and dry them thoroughly to remove any wax or residue from the skin. Using a microplane or zester, carefully zest all four lemons, making sure to only get the yellow part of the peel and not the bitter white pith underneath. Once zested, slice the lemons in half and juice them, removing any seeds.
Step 2: In a medium-sized, heavy-bottomed pot, combine the fresh lemon juice, lemon zest, granulated sugar, and water. Place the pot over medium heat and stir the mixture constantly until the sugar has completely dissolved. You shouldn’t feel any gritty sugar crystals on the bottom of the pot.
Step 3: Bring the mixture to a rolling boil. Once it’s boiling, reduce the heat to low and let it simmer gently. Allow it to cook for 30 to 40 minutes, stirring every 5-10 minutes to prevent it from sticking to the bottom of the pot. The jam will gradually thicken and darken to a beautiful golden color.
Step 4: To check if your jam is ready, use the cold plate test. Before you start cooking, place a small plate in the freezer. When you think the jam is done, spoon a tiny amount onto the cold plate and return it to the freezer for one minute. Nudge the jam with your finger; if it wrinkles and feels gel-like, it’s ready! If it’s still runny, continue simmering for another 5 minutes and test again.
Step 5: Once the jam has reached the perfect consistency, remove the pot from the heat. If you’re using the vanilla extract, stir it in now. Let the jam cool in the pot for about 5-10 minutes—this helps prevent the zest from floating to the top of the jars. Carefully pour the hot jam into sterilized glass jars, leaving a little space at the top. Seal the jars tightly and let them cool completely on the counter before moving them to the refrigerator.
How to serve Italian Lemon Jam

This vibrant jam is a true kitchen workhorse! Beyond spreading it on a warm piece of sourdough toast or a buttery scone, here are a few of our favorite ways to enjoy it:
- Breakfast Boost: Swirl a spoonful into plain Greek yogurt or a warm bowl of oatmeal for a zesty start to your day.
- Baking Centerpiece: Use it as a delicious filling for thumbprint cookies, lemon bars, or between layers of a white cake.
- Cheese Board Star: It pairs beautifully with creamy cheeses like ricotta, goat cheese, or mascarpone.
- Savory Glaze: Whisk it with a little olive oil and herbs to create a fantastic glaze for roasted chicken, salmon, or pork.
How to store Italian Lemon Jam
Proper storage is key to keeping your delicious homemade jam fresh. Once the jars have cooled completely to room temperature, they must be stored in the refrigerator. This jam will keep well in a sealed jar in the fridge for up to one month.
Because this recipe does not involve a formal water bath canning process, it is not considered shelf-stable and should not be stored in the pantry. Always keep it refrigerated.
Tips to make
- Choose Good Lemons: Since the zest is a star ingredient, opt for organic, unwaxed lemons if possible. If not, be sure to scrub your lemons very well in warm water to remove any waxy coating.
- Avoid the Pith: The white layer under the yellow peel, called the pith, is very bitter and can ruin the flavor of your jam. Be careful to only zest the fragrant yellow part of the skin.
- Be Patient with the Simmer: Don’t be tempted to crank up the heat to speed up the thickening process. A low, gentle simmer is crucial for developing the flavor and achieving the right gel-like consistency without scorching the sugar.
- Sterilize Your Jars: To ensure your jam lasts as long as possible, it’s important to use clean, sterilized jars. You can easily do this by running them through a hot cycle in your dishwasher or by carefully boiling them in water for 10 minutes.
FAQs About Italian Lemon Jam
Why did my lemon jam turn out bitter?
Bitterness is almost always caused by the white pith of the lemon. When zesting or juicing, make sure you are only using the yellow peel and the juice, and that no pith or seeds make their way into your pot. Using a good quality zester helps control this.
Can I reduce the amount of sugar in this recipe?
While it may be tempting, the sugar in this recipe does more than just add sweetness. It acts as a preservative and is essential for helping the jam to set and achieve its thick, gel-like texture. Significantly reducing the sugar will result in a runnier, syrup-like consistency and a much shorter shelf life.
My jam is too runny and didn’t set. What did I do wrong?
Don’t worry, this is an easy fix! If your jam doesn’t pass the cold plate test, it simply needs more time to cook. The natural pectin in the lemons needs heat and time to activate. Just return the pot to a low simmer and continue cooking, testing it every 5-7 minutes until it properly gels.
Final Thoughts
There is a special kind of magic in transforming a few simple lemons into a jar of glistening, golden jam. The process fills your home with an incredible citrus perfume, and the result is a condiment that can elevate countless dishes. Whether you spread it on your morning toast or use it to create a gourmet glaze, this Italian Lemon Jam is a simple luxury that’s well worth the small effort. I hope you enjoy this taste of Italian sunshine as much as I do!
Hungry for more? Follow us on Pinterest for daily recipes!
Print
Zesty Italian Lemon Jam: An Easy Homemade Recipe
- Total Time: 1 hour
- Yield: 4 servings 1x
- Diet: Vegetarian
Description
A simple and vibrant recipe for homemade Italian Lemon Jam, bursting with citrus flavor. It’s perfect for spreading on toast, scones, or as a filling for pastries.
Ingredients
4 large lemons
2 cups granulated sugar
1 cup water
1/2 teaspoon vanilla extract (optional)
Instructions
- Step 1: Wash and dry the lemons thoroughly. Zest the lemons, then cut them in half and juice them, making sure to discard all seeds.
- Step 2: In a medium pot, combine the lemon juice, lemon zest, granulated sugar, and water.
- Step 3: Stir the mixture over medium heat until the sugar has completely dissolved. Bring it to a boil.
- Step 4: Reduce the heat to a simmer and cook for 30 to 40 minutes, stirring occasionally, until the jam has thickened.
- Step 5: To check if the jam is ready, place a small amount on a cold plate and let it sit for a minute. If it gels, it is done. If not, continue cooking for a few more minutes and test again.
- Step 6: Remove the pot from the heat. Stir in the optional vanilla extract. Let the jam cool slightly before carefully pouring it into sterilized jars.
- Step 7: Seal the jars tightly and let them cool completely at room temperature.
Notes
Using sterilized jars is crucial for proper preservation and extending the shelf life of the jam.
The jam will continue to thicken as it cools in the jars.
The cold plate test is the most reliable way to ensure your jam will set correctly.
- Prep Time: 20 minutes
- Cook Time: 35 minutes
- Category: Jam & Preserves
- Method: Stovetop
- Cuisine: Italian