
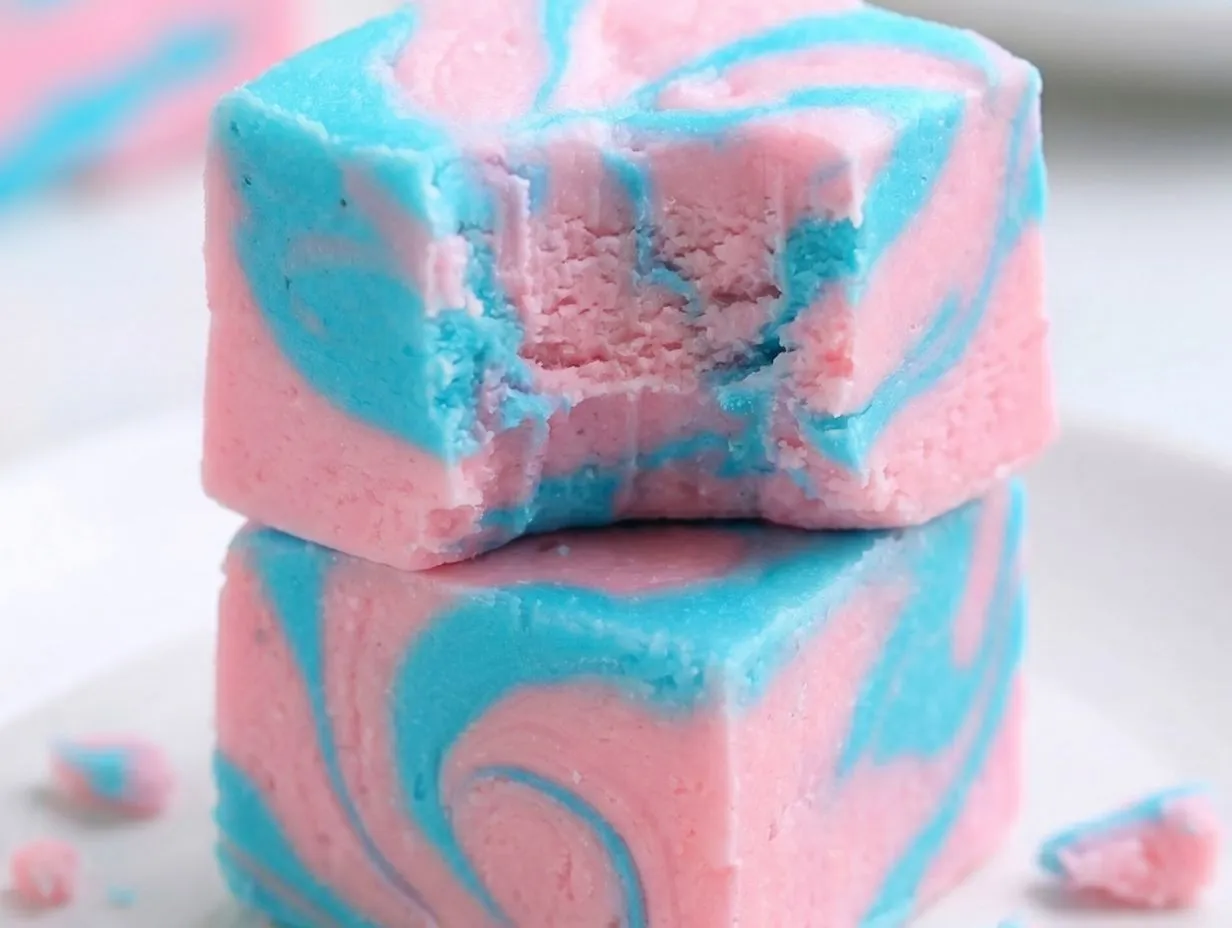
That unmistakable sweet, sugary scent of freshly spun cotton candy always takes me right back to summer fairs and carnival lights. It’s a flavor of pure fun and nostalgia! I wanted to capture that whimsical magic in a super simple, no-bake treat, and this Cotton Candy Fudge is the delicious result. It’s a creamy, dreamy confection that melts in your mouth, with gorgeous pastel swirls of pink and blue. This fudge is incredibly easy to make and is the perfect show-stopping dessert for birthday parties, baby showers, or any time you need a little pop of color and sweetness in your life.
With just a handful of ingredients and a microwave, you can whip up a batch of this magical fudge in minutes. The hardest part is waiting for it to set in the fridge! It’s a fun recipe to get the kids involved with, letting them help swirl the colors to create their own unique marbled masterpiece.
Why make this recipe
If you’re looking for a dessert that delivers big on “wow” factor with minimal effort, this is it. This Cotton Candy Fudge recipe is a guaranteed crowd-pleaser for several reasons. First, it’s a no-bake recipe, which means you don’t have to turn on your oven—perfect for warm days or when you need a quick dessert without the fuss. Second, it uses only five simple ingredients that are easy to find. The result is a stunningly beautiful treat with vibrant, marbled colors that look like they came from a high-end candy shop. It’s an ideal treat for themed parties (think unicorns, mermaids, or carnivals!), bake sales, or as a sweet, homemade gift.
Ingredients
- 24 oz white chocolate bark
- 1 can (14 oz) sweetened condensed milk
- 2 teaspoons Cotton candy extract
- Light blue food colouring gel
- Light pink food coloring gel
How to make Cotton Candy Fudge
Step 1: First, prepare an 8×8-inch pan. The key to easy removal is lining it with aluminum foil or parchment paper, leaving a little overhang on the sides to act as “handles” so you can lift the fudge out later.
Step 2: Place your white chocolate bark into a large, microwave-safe bowl. Heat it in the microwave in 30-second intervals. It’s very important to stir well after each interval to distribute the heat and prevent the chocolate from scorching. Continue this process until the bark is completely melted and smooth.
Step 3: Once the bark is melted, pour in the entire can of sweetened condensed milk and the cotton candy extract. Stir everything together until the mixture is thick and well combined.
Step 4: Working quickly, divide the fudge mixture evenly between two separate bowls.
Step 5: Now for the fun part! Add a small dab of light blue food coloring gel to one bowl and a small dab of light pink food coloring gel to the other. Gel coloring is very concentrated, so start with a little and add more if needed to reach your desired pastel shades. Stir each bowl until the color is uniform.
Step 6: Alternate dropping spoonfuls of the pink and blue fudge mixtures randomly into your prepared pan. There’s no right or wrong way to do this—just scatter the colors all over until both bowls are empty.
Step 7: Take a toothpick or a skewer and gently drag it through the fudge a few times to swirl the colors together. Be careful not to overmix, or the colors will become muddy. You’re aiming for a beautiful, marbled effect.
Step 8: Transfer the pan to the refrigerator and let the fudge chill for at least 2 hours, or until it is completely firm to the touch.
Step 9: Once the fudge has hardened, use the parchment or foil overhangs to lift it out of the pan. Place it on a cutting board, cut it into small squares, and get ready to enjoy!
How to serve Cotton Candy Fudge

This fudge is a showstopper all on its own! Serve the colorful squares on a simple white platter to make the pastel swirls pop. It’s a fantastic addition to any dessert table, especially for kids’ birthday parties, baby showers, or gender reveal parties. You can also package it in clear cellophane bags tied with a ribbon to give as a delightful homemade gift or party favor. For an extra touch of whimsy, sprinkle a little edible glitter or fun sprinkles over the top before chilling.
How to store Cotton Candy Fudge
Storing this fudge properly is key to keeping it fresh and delicious. Place the cut fudge pieces in an airtight container. You can store it in the refrigerator for up to 2 weeks. If you want to keep it longer, this fudge freezes beautifully! Arrange the pieces in a single layer in a freezer-safe container or bag, separating layers with parchment paper to prevent sticking. It will last in the freezer for up to 3 months. When you’re ready to enjoy it, simply let it thaw in the refrigerator.
Tips to make Cotton Candy Fudge
Use Quality Ingredients: Since this recipe has so few ingredients, their quality matters. Use a good quality white chocolate bark (also called almond bark or candy coating) as it’s designed to melt smoothly and set up firmly, which is perfect for fudge.
Don’t Scorch the Chocolate: The most crucial step is melting the white chocolate. Be patient and stick to short 30-second bursts in the microwave, stirring thoroughly each time. White chocolate can seize and become grainy if overheated.
Go for Gel Food Coloring: For the most vibrant pink and blue hues without affecting the fudge’s texture, use gel food coloring. Liquid food coloring can add too much moisture, potentially preventing the fudge from setting properly.
Don’t Over-Swirl: To get that beautiful marbled look, less is more. Drag a toothpick through the mixture just a few times. If you swirl too much, the pink and blue will blend into a single purple-ish color.
FAQs About Cotton Candy Fudge
Can I use white chocolate chips instead of white chocolate bark?
You can, but the texture might be slightly different. White chocolate bark (or candy melts) contains ingredients that help it set up firmer and smoother than regular white chocolate chips, which makes it ideal for no-bake fudge. If you use chips, your fudge may be a bit softer.
Where can I buy cotton candy extract?
Cotton candy extract or flavoring can typically be found in the baking aisle of larger supermarkets, at craft stores like Michael’s or Jo-Ann, or easily purchased from online retailers like Amazon. It adds that authentic carnival flavor!
Why didn’t my fudge set?
The most common reason for fudge not setting is using the wrong kind of milk. This recipe requires sweetened condensed milk, which is very thick and sugary. Do not substitute it with evaporated milk or regular milk, as they do not have the right consistency or sugar content to allow the fudge to harden.
Hungry for more? Follow us on Pinterest for daily recipes!
Final Thoughts
This Cotton Candy Fudge is more than just a sweet treat; it’s an experience. It’s the joy of creating something so colorful and beautiful with such little effort. The creamy texture combined with the whimsical flavor of cotton candy makes it an instant favorite for all ages. Whether you’re making it for a special occasion or just to brighten up an ordinary day, this recipe is sure to bring a smile to everyone’s face.
Print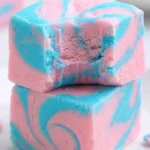
Easy No-Bake Cotton Candy Fudge Recipe
- Total Time: 130 mins
- Yield: 25 servings 1x
- Diet: Vegetarian
Description
A simple and colorful recipe for no-bake Cotton Candy Fudge with a marbled look, perfect for a sweet treat.
Ingredients
24 oz white chocolate bark
1 can (14 oz) sweetened condensed milk
2 teaspoons Cotton candy extract
Light blue food colouring gel
Light pink food coloring gel
Instructions
- Step 1: Prepare an 8×8-inch pan by lining it with aluminum foil or parchment paper.
- Step 2: Place the white chocolate bark in a microwave-safe bowl and microwave in 30-second intervals, stirring between each, until completely melted.
- Step 3: Stir in the sweetened condensed milk and cotton candy extract until well combined.
- Step 4: Divide the fudge mixture evenly into two separate bowls.
- Step 5: Add blue food coloring gel to one bowl and pink food coloring gel to the other, stirring each until you reach your desired shades.
- Step 6: Drop spoonfuls of the pink and blue mixtures randomly into the prepared pan.
- Step 7: Use a toothpick or knife to gently swirl the colors together to create a marbled effect.
- Step 8: Refrigerate for at least 2 hours, or until the fudge is firm and hardened.
- Step 9: Lift the fudge from the pan, cut into pieces, and serve.
- Prep Time: 10 mins
- Cook Time: 0 mins
- Category: Dessert
- Method: Microwave
- Cuisine: American