
There are some desserts that just scream “summer,” and for me, this Chocolate Icebox Pie is at the top of the list. I remember the first time I made it for a backyard barbecue; I was short on time and dreading turning on my oven in the July heat. This recipe was my savior! It’s a completely no-bake wonder that delivers a slice of rich, creamy, chocolate heaven without breaking a sweat. The crunchy Oreo crust combined with the silky, decadent filling is pure magic.
This pie is essentially a chocolate cheesecake in disguise, but so much lighter and fluffier thanks to the homemade whipped cream folded into the filling. It’s the perfect make-ahead dessert for potlucks, holidays, or any time you need an impressive treat that’s secretly simple to prepare. If you love easy, no-bake desserts, you should also check out this amazing No-Bake Chocolate Lasagna Recipe.
Table of Contents
Why make this recipe
If the promise of a cool, creamy chocolate pie isn’t enough, here are a few more reasons to love this recipe:
- No Oven Required: This is the ultimate dessert for warm weather or for when your oven is already occupied. It comes together on the countertop and sets in the fridge.
- Deeply Decadent: The combination of dark chocolate, cream cheese, and a hint of coffee creates a rich, complex flavor that’s not overly sweet.
- Crowd-Pleasing Favorite: A chocolate cookie crust filled with a mousse-like chocolate cream? It’s a guaranteed hit with both kids and adults.
- Perfect for Making Ahead: This pie actually gets better as it chills, allowing the flavors to meld together. You can make it a full day in advance, making party prep a breeze.
Ingredients
- 1 Oreo Crust (prepare in a 9 ½” pie pan and refrigerate)
- 16 oz cream cheese, softened
- 8 oz dark or semisweet chocolate, chopped into small pieces
- 1 ½ cups heavy cream (divided)
- ¾ tsp of instant coffee (optional)
- 1 cup powdered sugar (divided)
- ⅓ cup sour cream
- 1 teaspoon vanilla extract
- Additional homemade whipped cream (for topping, if desired)
How to make Chocolate Icebox Pie
Step 1: Begin by making the chocolate ganache. Place the chopped chocolate and ½ cup of heavy cream in a large, microwave-safe bowl. Heat in the microwave in 20-25 second intervals, stirring well after each one, until the chocolate is fully melted and the mixture is smooth and glossy. Be careful not to overheat it!
Step 2: If you’re using it, stir the instant coffee into the warm ganache until it dissolves. This little trick really deepens the chocolate flavor. Set the bowl aside to cool for at least 25 minutes, or until it’s no longer warm to the touch. This is a crucial step to prevent the filling from becoming runny.
Step 3: While the ganache cools, prepare your whipped cream. In a separate medium-sized bowl, combine the remaining 1 cup of heavy cream with ¼ cup of the powdered sugar. Using an electric mixer, beat the cream on medium-high speed until it forms stiff peaks. You’ll know it’s ready when it’s thick, fluffy, and holds its shape, similar to Cool Whip.
Step 4: In another large bowl, place the softened cream cheese. Pour the completely cooled chocolate ganache over the top. Use your electric mixer to blend them together until the mixture is smooth, creamy, and free of any lumps.
Step 5: Add the remaining ¾ cup of powdered sugar, the sour cream, and the vanilla extract to the cream cheese mixture. Mix again until everything is fully incorporated and the filling is smooth.
Step 6: Now, gently add the whipped cream you made earlier to the chocolate-cream cheese mixture. Use a spatula to fold it in by hand. Be gentle to keep the air in the whipped cream, which gives the pie its light, mousse-like texture. Continue folding until no white streaks remain.
Step 7: Retrieve your chilled Oreo crust from the refrigerator. Scrape the glorious chocolate filling into the crust and use your spatula to spread it evenly, smoothing the top.
Step 8: Transfer the finished pie to the refrigerator to chill for at least 6 hours, or preferably overnight. This chilling time is essential for the pie to set up properly.
How to serve Chocolate Icebox Pie

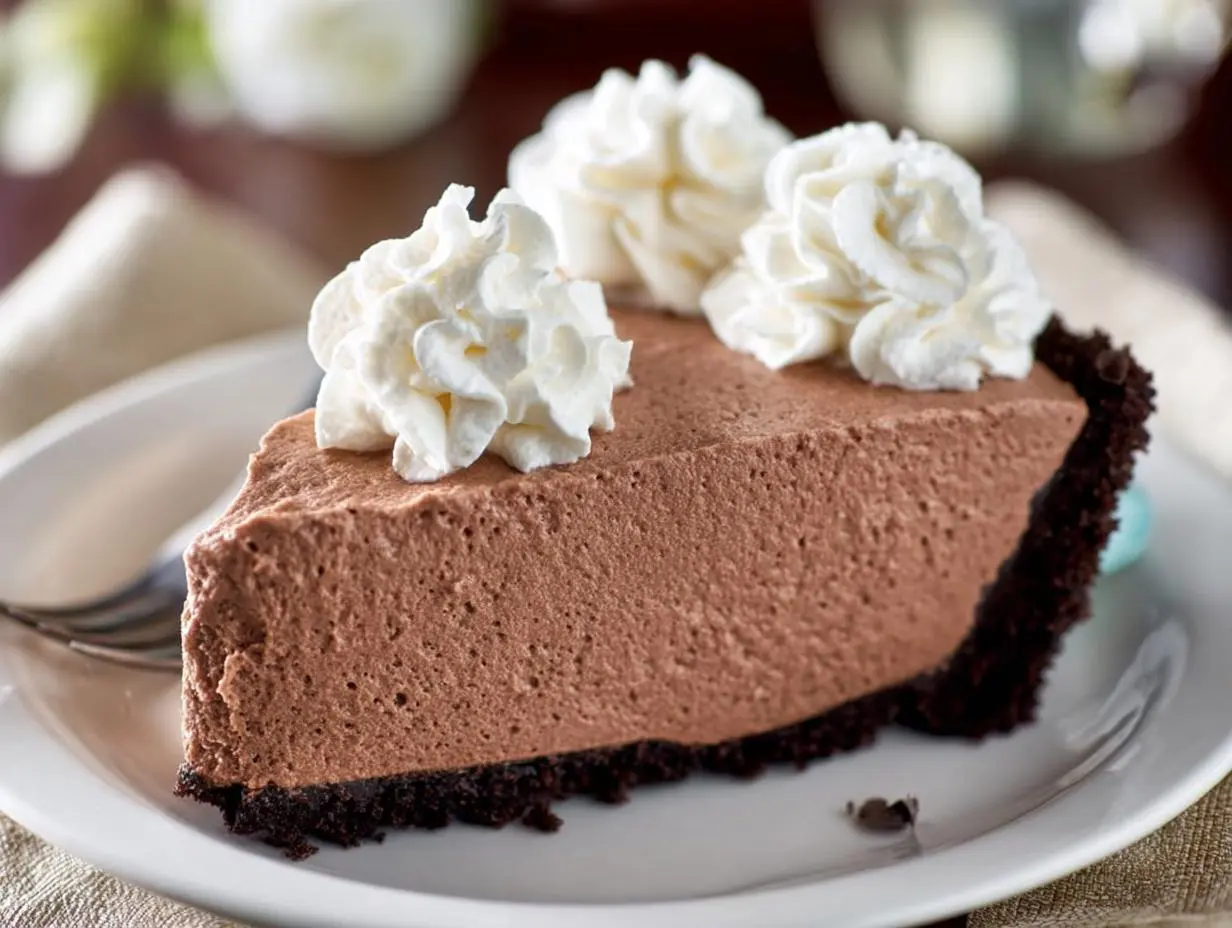
This pie is best served straight from the refrigerator. The cold temperature keeps the filling firm and perfectly refreshing. A slice on its own is divine, but for an extra touch of elegance, top each piece with a dollop of additional homemade whipped cream. For a true showstopper, add a few chocolate shavings or a sprinkle of cocoa powder right before serving.
How to store Chocolate Icebox Pie
Store any leftover pie in the refrigerator, covered loosely with plastic wrap or in a pie container. It will keep well for up to 4-5 days. The Oreo crust may soften slightly over time, but the flavor will remain delicious. I do not recommend freezing this pie, as the texture of the cream cheese filling can change upon thawing.
Tips to make Chocolate Icebox Pie
- Use good quality chocolate: Since chocolate is the star of the show, using a good quality dark or semisweet chocolate bar (not just chips, which have stabilizers) will yield the best flavor and smoothest ganache.
- Ensure ingredients are at the right temperature: Your cream cheese should be fully softened to room temperature to avoid lumps. Conversely, your ganache must be completely cooled before mixing it with the cream cheese.
- Don’t skip the sour cream: The sour cream adds a subtle tang that cuts through the richness of the chocolate and cream cheese, creating a more balanced and complex flavor profile.
- Be patient with chilling: The 6-hour (or overnight) chill time is not a suggestion! The pie needs this time to set properly so you can get clean, beautiful slices.
- Love no-bake pies? If this recipe is right up your alley, you’ll adore this No Bake Cream Cheese Peanut Butter Pie, which uses a similar easy method!
FAQs About Chocolate Icebox Pie
Can I use a store-bought Oreo crust?
Absolutely! A store-bought crust works perfectly and saves you a little bit of prep time. Just make sure it’s the 9-inch size to accommodate all the filling.
Can I use milk chocolate instead of dark chocolate?
You can, but it will result in a much sweeter pie. The dark or semisweet chocolate provides a nice balance to the sweetness of the powdered sugar and crust. If you do use milk chocolate, you might consider slightly reducing the powdered sugar.
Why is my pie filling not firm?
The most common reason for a runny filling is not letting the ganache cool completely before mixing it with the cream cheese. If the ganache is even slightly warm, it can prevent the filling from setting. Another reason could be not chilling the pie long enough. It really needs at least 6 hours in the fridge to become firm.
Hungry for more? Follow us on Pinterest for daily recipes!
Final Thoughts
This Chocolate Icebox Pie is a true dessert hero. It’s elegant enough for a special occasion but easy enough for a spontaneous treat. The contrast of the crunchy, dark chocolate crust with the impossibly smooth, creamy, and cool filling is something you’ll crave again and again. It’s a simple, stress-free recipe that delivers maximum chocolate satisfaction with minimal effort. Enjoy every single bite!
Print
Easy No-Bake Chocolate Icebox Pie Recipe
- Total Time: 6 hours 20 minutes
- Yield: 10 servings 1x
- Diet: Vegetarian
Description
A rich and creamy no-bake chocolate pie featuring a smooth, tangy filling made with cream cheese and chocolate ganache, all set in a crisp Oreo cookie crust.
Ingredients
1 Oreo Crust (prepared in a 9 ½ inch pie pan and refrigerated)
16 oz cream cheese, softened
8 oz dark or semisweet chocolate, chopped
1 ½ cups heavy cream, divided
¾ tsp of instant coffee (optional)
1 cup powdered sugar, divided
⅓ cup sour cream
1 teaspoon vanilla extract
Additional homemade whipped cream, for topping (optional)
Instructions
- Step 1: Combine the chopped chocolate and ½ cup of heavy cream in a large microwave-safe bowl.
- Step 2: Microwave in 20-25 second increments, stirring well between each interval, until the chocolate is completely melted and the mixture is smooth.
- Step 3: Stir the optional instant coffee into the melted chocolate mixture. Set it aside to cool for at least 25 minutes, or until it is no longer warm to the touch.
- Step 4: In a separate medium bowl, combine the remaining 1 cup of heavy cream and ¼ cup of powdered sugar. Use an electric mixer to beat the mixture until stiff peaks form.
- Step 5: In another large bowl, place the softened cream cheese and pour the cooled chocolate ganache over it. Use an electric mixer to combine until the mixture is smooth and creamy.
- Step 6: Add the remaining ¾ cup of powdered sugar, the sour cream, and the vanilla extract to the cream cheese mixture. Stir until everything is completely combined.
- Step 7: Using a spatula, gently fold the whipped cream from Step 4 into the chocolate mixture until just incorporated.
- Step 8: Spread the filling into the chilled Oreo crust, using a spatula to smooth the top.
- Step 9: Transfer the pie to the refrigerator and chill for at least 6 hours or overnight to allow it to set completely.
- Step 10: Slice, serve, and top with additional whipped cream if desired.
Notes
The Oreo crust should be prepared and placed in the refrigerator before starting; do not bake it.
Ensure the melted chocolate mixture has cooled completely to room temperature before mixing it with the cream cheese to prevent a grainy texture.
The pie requires at least 6 hours of chilling time to set properly, so plan accordingly.
- Prep Time: 20 minutes
- Cook Time: 0 minutes
- Category: Dessert
- Method: No-Bake
- Cuisine: American