
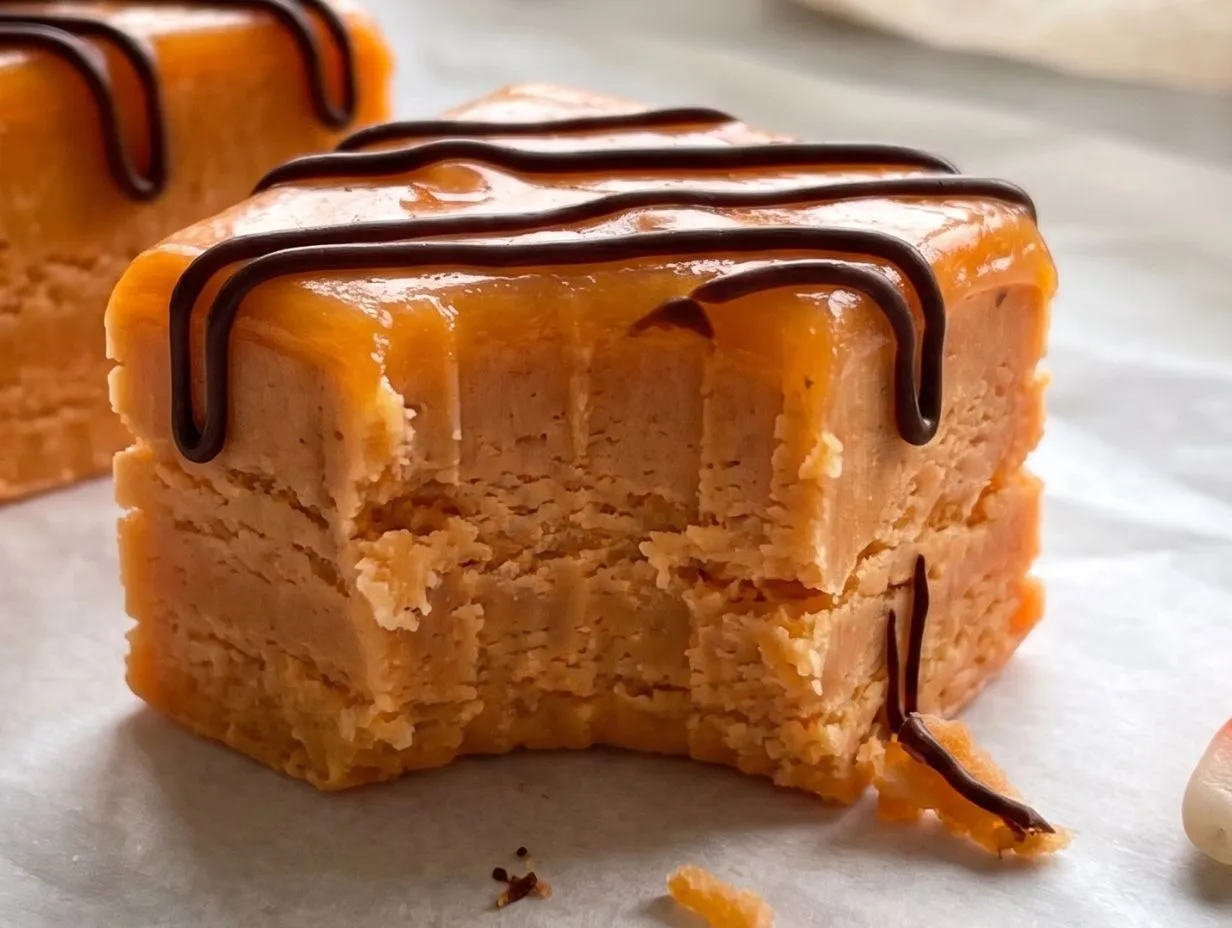
Have you ever looked at a bag of leftover Halloween candy corn and thought, “What on earth am I going to do with all of this?” I have, and the answer is this mind-blowingly delicious Butterfinger Fudge. It sounds wild, but trust me, when you melt candy corn with creamy peanut butter, something magical happens. It creates a sweet, slightly crunchy, and utterly addictive fudge that tastes just like a real Butterfinger candy bar. It’s a simple, no-bake treat that comes together in minutes on the stovetop, making it perfect for holiday platters, bake sales, or just a quick fix for your sweet tooth. If you love easy, no-bake desserts, you should also check out our No Bake Peanut Butter Cup Bars!
Why make this recipe
This isn’t just any fudge recipe; it’s a conversation starter! Here’s why you need to try it:
Tastes Just Like the Real Thing: The combination of melted candy corn and peanut butter miraculously mimics the unique flavor and texture of a Butterfinger bar. It’s a copycat recipe that will leave everyone guessing the secret ingredient.
So Incredibly Easy: You don’t need a candy thermometer or any special equipment. With just five simple ingredients and a saucepan, you can whip up a batch in 30 minutes flat.
Perfect for Using Leftovers: This is the ultimate way to use up extra candy corn after Halloween or fall festivities. No more stale candy sitting in your pantry!
Completely No-Bake: Free up your oven for other dishes! This easy fudge sets up in the refrigerator, making it a fantastic treat to prepare for parties or holidays without adding to the kitchen chaos.
Ingredients
- 3 cups Candy Corn
- 1 cup (268g) peanut butter
- 1 14 ounce can sweetened condensed milk
- 2 cups (340g) white chocolate chips
- 1 cup (170g) milk chocolate chips (, optional)
How to make Butterfinger Fudge
Step 1: First, prepare your pan. Line an 8×8 or 9×9 inch pan with foil, leaving some overhang on the sides to act as handles later. Spray the foil generously with cooking spray to prevent the fudge from sticking. An 8×8 pan will give you very thick fudge, while a 9×9 pan will result in slightly thinner, more traditional squares.
Step 2: In a medium saucepan, combine the candy corn and peanut butter. Place it over low heat and stir frequently, about every 30 seconds, for approximately 3 minutes. The goal is to gently melt the ingredients together without scorching them.
Step 3: Pour the sweetened condensed milk into the saucepan. Continue to cook over low heat, stirring every 30 seconds, for another 3 minutes. You want the mixture to get hot and well-combined, but do not let it come to a rolling boil. A gentle simmer is perfectly fine.
Step 4: Remove the pan from the heat and add the white chocolate chips. Stir continuously until all the chips are melted and the mixture is smooth. It might seem like it’s not coming together at first, but be patient and keep stirring—it will suddenly turn into a beautiful, creamy fudge!
Step 5: Immediately pour the fudge mixture into your prepared pan and use a spatula to spread it into an even layer. Let it cool on the counter for about 15 minutes before transferring it to the refrigerator to chill until completely firm.
Step 6: Once the fudge is hard, use the foil handles to lift it out of the pan and onto a cutting board. Cut it into 36 small squares. If you wish, you can melt the milk chocolate chips (adding a little vegetable oil helps thin it for dipping) and dip the bottom of each fudge square. Place the dipped squares on a sheet of wax paper to allow the chocolate to set.
How to serve Butterfinger Fudge
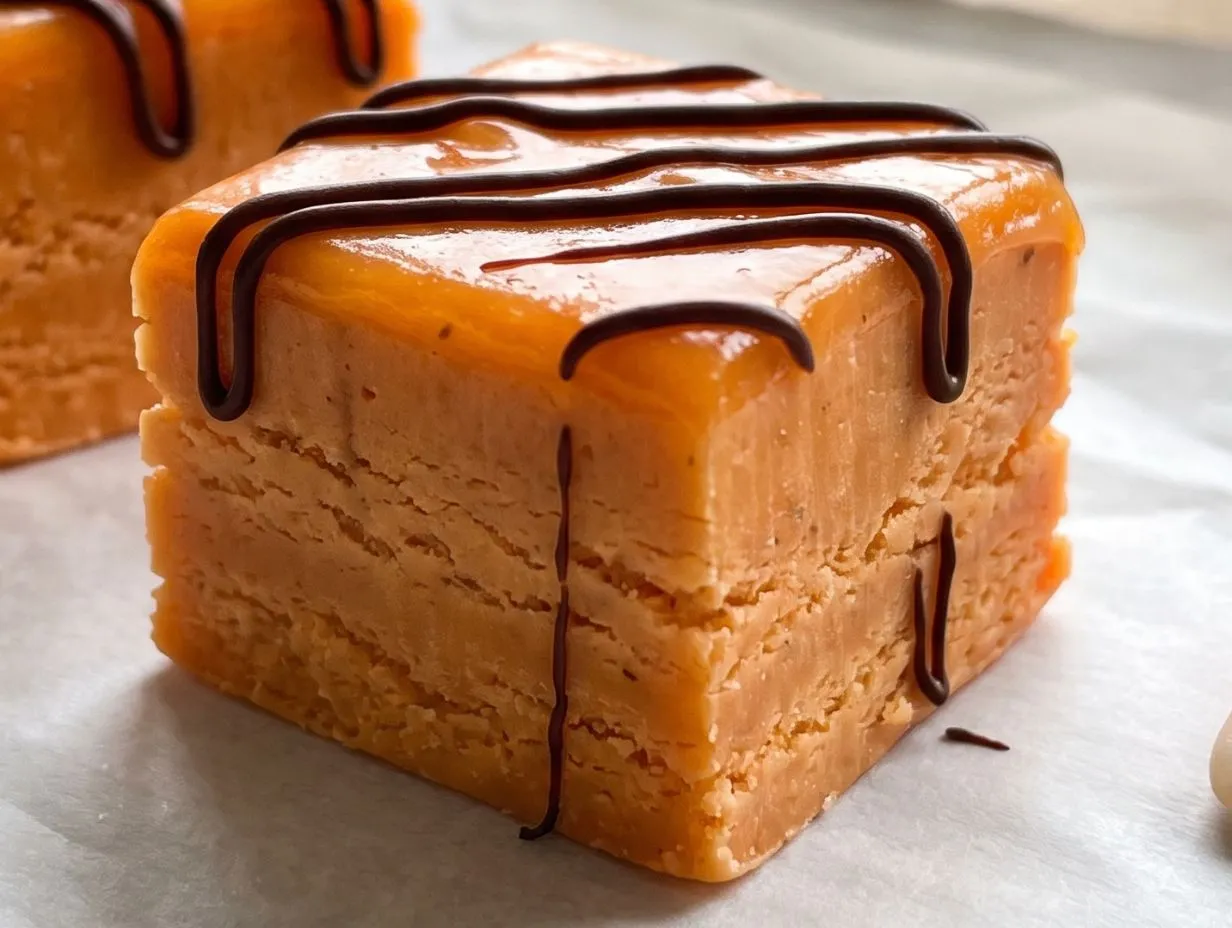
This fudge is a star on its own! Cut it into small, bite-sized squares and arrange them on a festive platter for parties or holiday gatherings. They make a fantastic addition to a Christmas cookie tray or can be packaged in decorative tins or boxes as a thoughtful and delicious homemade gift for friends, neighbors, and teachers.
How to store Butterfinger Fudge
To keep your Butterfinger Fudge fresh and delicious, store it in an airtight container in the refrigerator. The cool temperature helps it maintain its firm texture. Stored properly, the fudge will last for up to two weeks. For longer storage, you can freeze it! Simply place the cut squares in a single layer on a baking sheet to flash-freeze, then transfer them to a freezer-safe bag or container. It will keep well in the freezer for up to 3 months.
Tips to make
Keep the Heat Low: The most important tip is to use low heat throughout the melting process. Sweetened condensed milk and candy corn can scorch easily, which will ruin the flavor of your fudge. Low and slow is the way to go.
Use Creamy Peanut Butter: For the smoothest, most consistent fudge, stick with a standard creamy peanut butter like Jif or Skippy. Natural peanut butters can separate and may alter the final texture.
Don’t Stop Stirring: Constant stirring prevents sticking and ensures all the ingredients melt evenly into a smooth, cohesive mixture.
Get Creative with Add-Ins: Feel free to customize this recipe. For an extra crunch, stir in a half-cup of chopped peanuts along with the white chocolate chips. For a different flavor profile, you could even try our Butterfinger Reeses Fudge Recipe Perfect Easy Holiday Treat.
FAQs About Butterfinger Fudge
Can I make this recipe in the microwave?
Yes, you can make this in the microwave, but it requires careful attention. Combine the candy corn, peanut butter, and sweetened condensed milk in a large, microwave-safe bowl. Heat in 30-second intervals, stirring well after each one, until melted. Then, stir in the white chocolate chips and continue heating in 15-second bursts until smooth. The stovetop method offers more control over the temperature, which is why I recommend it.
Do I have to use white chocolate chips?
The white chocolate provides a creamy sweetness that balances the peanut butter and helps the fudge set properly. You could experiment with butterscotch chips or even peanut butter chips for a different flavor twist, but I don’t recommend using milk or semi-sweet chocolate in the fudge base itself, as it will significantly change the flavor and color.
My fudge seems grainy. What went wrong?
A grainy texture usually means the sugar crystals didn’t fully dissolve or the mixture was overheated. Be sure to keep the heat low and stir constantly until everything is completely smooth before you pour it into the pan. Patience during the melting step is key!
Hungry for more? Follow us on Pinterest for daily recipes!
Final Thoughts
This Butterfinger Fudge is a delightful surprise in every bite. It’s rich, sweet, and has that signature flaky texture that makes the candy bar so iconic. It’s one of the most creative and delicious ways to transform a simple bag of candy corn into a gourmet-tasting treat. Give it a try—you’ll be amazed at how easy and impressive it is!
Print
Easy No-Bake Butterfinger Fudge Recipe (30 Minutes)
- Total Time: 30 mins
- Yield: 36 servings 1x
- Diet: Vegetarian
Description
A simple, no-bake fudge recipe that cleverly uses candy corn and peanut butter to mimic the flavor of a Butterfinger candy bar.
Ingredients
3 cups Candy Corn
1 cup (268g) peanut butter
1 14 ounce can sweetened condensed milk
2 cups (340g) white chocolate chips
1 cup (170g) milk chocolate chips (optional)
Instructions
- Step 1: Line an 8×8 or 9×9 inch pan with foil and spray it with cooking spray.
- Step 2: In a medium saucepan, combine the Candy Corn and peanut butter. Heat over low heat for about 3 minutes, stirring every 30 seconds.
- Step 3: Add the sweetened condensed milk to the saucepan, stir to combine, and continue to cook for another 3 minutes, stirring every 30 seconds. A slight simmer is okay, but do not let it boil.
- Step 4: Remove the pan from the heat and add the white chocolate chips. Stir continuously until all the ingredients are fully melted and the mixture is smooth.
- Step 5: Pour the fudge mixture into the prepared pan and spread it out evenly.
- Step 6: Allow the fudge to cool on the counter for about 15 minutes, then transfer it to the refrigerator to chill until completely firm.
- Step 7: Once hardened, lift the fudge from the pan using the foil and cut it into squares.
- Step 8: For the optional chocolate coating, melt the milk chocolate chips in a microwave-safe bowl. You can add a little vegetable oil to thin the chocolate. Dip the bottom of each fudge square into the melted chocolate.
- Step 9: Place the dipped squares on a cookie sheet lined with wax paper and allow the chocolate to set and harden.
Notes
For a thinner fudge, a 9×9 inch pan is recommended as an 8×8 pan will result in very thick pieces.
Be patient when melting the white chocolate chips; it may seem like it won’t melt, but it will eventually become smooth.
The milk chocolate dip is an optional addition.
Adding a small amount of vegetable oil helps to thin the chocolate for easier dipping.
- Prep Time: 30 mins
- Cook Time: 10 mins
- Category: Dessert
- Method: Stovetop
- Cuisine: American