
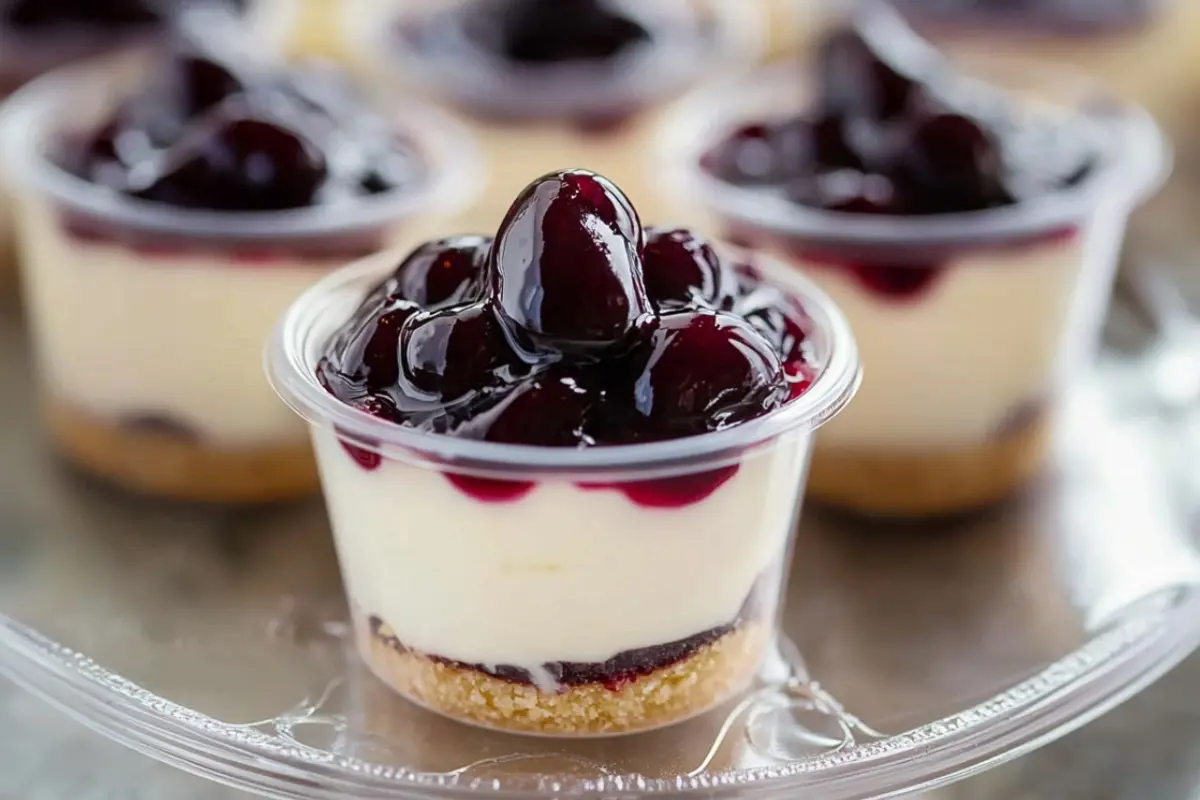
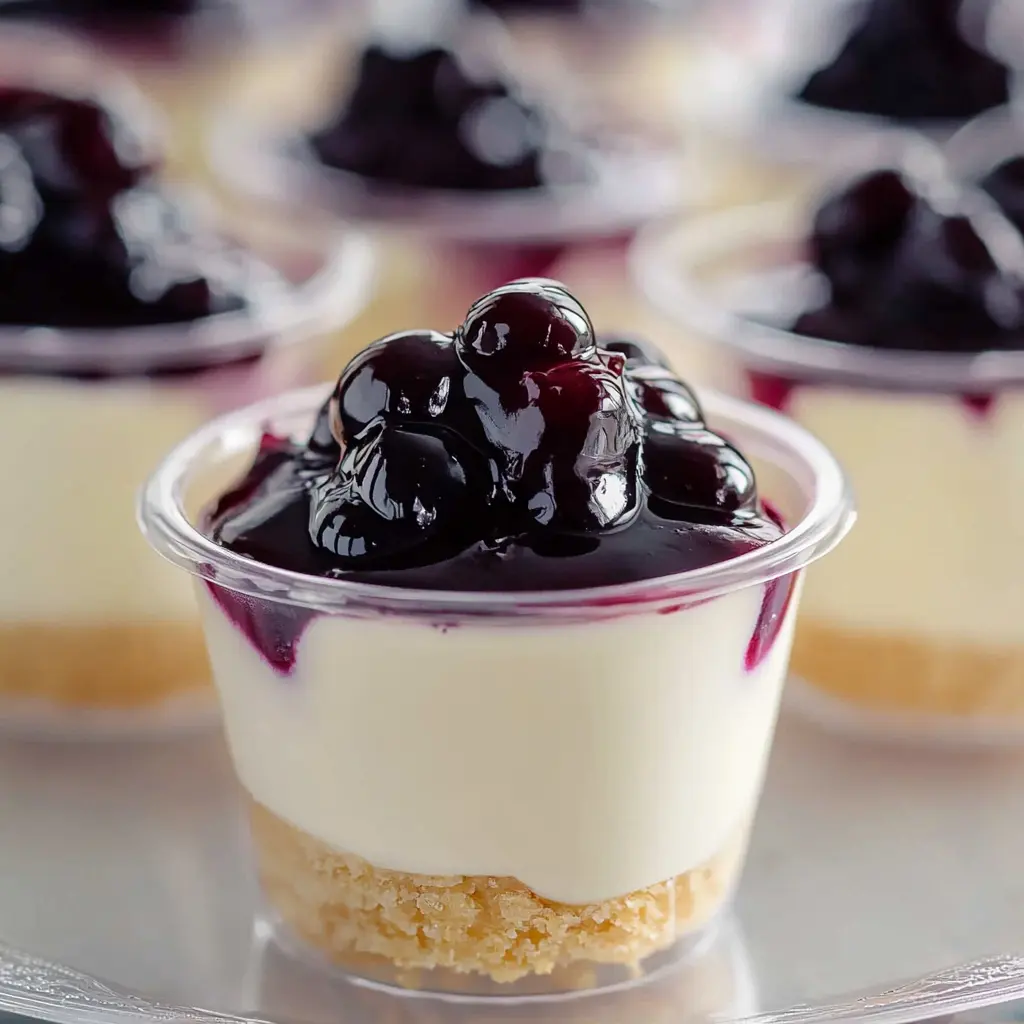
No bake mini cheesecake cups are the ultimate quick and delightful dessert that starts with the magic words: no bake. Perfect for holidays, parties, or a simple indulgence, these creamy treats require minimal effort and deliver maximum satisfaction. In just 15 minutes of prep and a few hours of chilling, you can create a batch of luscious, bite-sized cheesecakes that are as beautiful as they are delicious. Whether you’re entertaining guests or craving something sweet and satisfying, these no bake mini cheesecake cups are sure to impress.
Why You’ll Love This No Bake Mini Cheesecake Cups Recipe
These no bake mini cheesecake cups are an irresistible combination of convenience and flavor. They don’t require an oven, making them perfect for summer days or when your kitchen is already busy with other dishes. The creamy texture pairs beautifully with the subtle crunch of a vanilla wafer base, and you can customize the toppings to suit any occasion or taste. They’re easy enough for beginners and elegant enough for any celebration.
Ingredients
- 16 ounces of cream cheese, softened
- 1 cup of powdered sugar
- 1 teaspoon of pure vanilla extract
- 1 cup of heavy whipping cream
- 1 teaspoon of cornstarch
- 1 package of vanilla wafer cookies
Step-by-Step: How to Make No Bake Mini Cheesecake Cups
- Prepare the Cream Cheese Mixture: In a mixing bowl, beat the softened cream cheese with a hand mixer until it’s completely smooth and creamy.
- Add Sweeteners and Flavor: Blend in the powdered sugar and vanilla extract until well incorporated and silky.
- Whip the Cream: In a separate bowl, whip the heavy cream and cornstarch together for about 3-4 minutes, or until stiff peaks form.
- Combine the Mixtures: Gently fold the whipped cream into the cream cheese mixture using a spatula to retain the light, airy texture.
- Assemble the Cups: Place a vanilla wafer at the bottom of each serving cup. Transfer the cheesecake filling into a piping bag or a resealable plastic bag with the corner snipped off, and pipe the filling over each cookie base.
- Chill to Set: Refrigerate the assembled cups for at least 4 hours or overnight to allow them to firm up.
- Serve and Enjoy: Just before serving, add your favorite toppings such as fruit, chocolate sauce, or crushed cookies.
Helpful Tips
- Make sure the cream cheese is thoroughly softened before beating to ensure a smooth, lump-free mixture.
- Use a metal bowl for whipping cream for better results.
- Don’t overmix when folding in the whipped cream to maintain the airy texture.
- Mini cups or small mason jars make charming and portable dessert servings.
Substitutions And Variations
- Crust Options: Try graham cracker crumbs, chocolate cookies, or gingersnaps instead of vanilla wafers.
- Flavor Twists: Add lemon zest, almond extract, or a swirl of berry puree to the cheesecake mixture.
- Topping Ideas: Fresh berries, caramel drizzle, crushed candy, or mini chocolate chips add delightful textures and flavors.
- Dairy-Free Option: Use plant-based cream cheese and coconut whipped cream for a vegan version.
Storage Instructions
Store the cheesecake cups in an airtight container in the refrigerator for up to five days. For best results, add toppings just before serving. You can also freeze them by wrapping tightly; they keep well in the freezer for up to a month. Thaw in the refrigerator before serving.
Nutritional Information
Each mini cheesecake cup provides approximately:
- Calories: 239 kcal
- Carbohydrates: 12g
- Protein: 3g
- Fat: 20g
- Saturated Fat: 12g
- Cholesterol: 69mg
- Sodium: 129mg
- Sugar: 11g
- Vitamin A: 799 IU
- Calcium: 50mg
Serving Suggestions
Serve these cheesecake cups at room temperature for the best flavor. Pair with coffee, tea, or a chilled dessert wine. They’re perfect on a dessert tray, at brunch, or as an after-dinner treat. For a party, set up a mini cheesecake bar with various toppings so guests can customize their dessert.
Common Questions About No Bake Mini Cheesecake Cups
Can I make these ahead of time? Yes, these cheesecake cups are perfect for making a day or two in advance. Just keep them chilled until ready to serve.
Can I use a different cookie for the base? Absolutely. Graham crackers, Oreos, or shortbread cookies work well as substitutes.
What toppings go best with these cheesecake cups? Fresh berries, fruit preserves, caramel, and mini chocolate chips are all popular choices.
Do they freeze well? Yes, you can freeze these cups individually. Just wrap them well and thaw in the refrigerator when you’re ready to enjoy.
Can I make them in a muffin tin instead? Definitely. Just use liners for easy removal and portion control.
Conclusion
Thank you for stopping by to explore this delicious no bake mini cheesecake cups recipe! I absolutely adore how easy and flavorful these treats are. Whether you’re an experienced baker or just starting out, this recipe fits every level of skill and occasion. With their creamy texture, sweet flavor, and endless topping possibilities, they’re sure to become a favorite in your dessert rotation. Enjoy every bite, and happy no-baking!
Join us on Pinterest for new mouthwatering recipes every day!
Print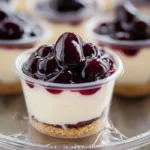
No Bake Mini Cheesecake Cups
- Total Time: 4 hours 15 minutes
- Yield: 12 servings 1x
- Diet: Vegetarian
Description
No Bake Mini Cheesecake Cups are a quick, creamy dessert perfect for holidays, parties, or anytime you want a no-fuss treat. Made with a vanilla wafer base and a light whipped cream cheese filling, these bite-sized cheesecakes chill to perfection. Customize with your favorite toppings and serve with ease—no oven needed!
Ingredients
16 oz cream cheese, softened
1 cup powdered sugar
1 tsp pure vanilla extract
1 cup heavy whipping cream
1 tsp cornstarch
1 package vanilla wafer cookies
Instructions
- Prepare the Cream Cheese Mixture: In a mixing bowl, beat the softened cream cheese with a hand mixer until it’s completely smooth and creamy.
- Add Sweeteners and Flavor: Blend in the powdered sugar and vanilla extract until well incorporated and silky.
- Whip the Cream: In a separate bowl, whip the heavy cream and cornstarch together for about 3-4 minutes, or until stiff peaks form.
- Combine the Mixtures: Gently fold the whipped cream into the cream cheese mixture using a spatula to retain the light, airy texture.
- Assemble the Cups: Place a vanilla wafer at the bottom of each serving cup. Transfer the cheesecake filling into a piping bag or a resealable plastic bag with the corner snipped off, and pipe the filling over each cookie base.
- Chill to Set: Refrigerate the assembled cups for at least 4 hours or overnight to allow them to firm up.
- Serve and Enjoy: Just before serving, add your favorite toppings such as fruit, chocolate sauce, or crushed cookies.
Notes
Use fully softened cream cheese for a smooth texture.
Store without toppings to maintain freshness and add them just before serving.
For a flavor twist, add lemon zest or swirl in fruit puree before chilling.
These cups freeze well—wrap tightly and thaw in the fridge before serving.
- Prep Time: 15 minutes + Time (Chill): 4 hours
- Cook Time: 0 minutes
- Category: Dessert
- Method: No-Bake
- Cuisine: American
Nutrition
- Serving Size: 1 mini cheesecake cup
- Calories: 239
- Sugar: 11g
- Carbohydrates: 12g
- Protein: 3g