
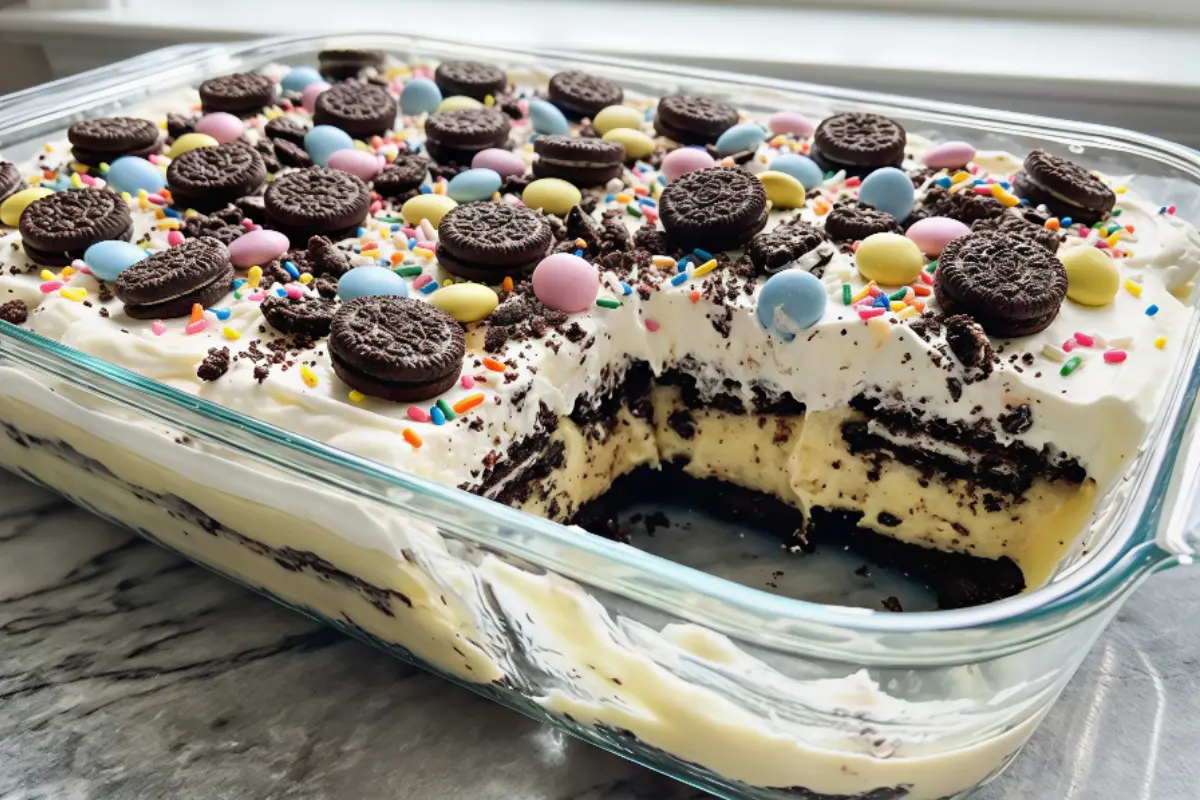
No Bake Dirt Cake Casserole is the ultimate easy dessert that brings together creamy, crunchy, and chocolatey layers in one irresistible dish. Perfect for Easter celebrations or any spring gathering, this no bake treat requires minimal effort but delivers maximum flavor. With crushed cookies, a fluffy cream cheese filling, and smooth pudding, it is both nostalgic and indulgent. Even better, there is no oven required, making it a stress free option for busy days. Whether you are hosting guests or preparing a fun family dessert, this delightful casserole is guaranteed to impress everyone at the table.
Why You Will Love This No Bake Dirt Cake Casserole
This No Bake Dirt Cake Casserole is a dream dessert for so many reasons. First, it is incredibly easy to prepare, making it perfect for beginners or anyone short on time. The layers of crushed cookies and creamy filling create a rich texture that feels indulgent without being complicated. It is also a no bake recipe, so you can avoid heating up the kitchen. Kids especially love the playful look with colorful candies on top, while adults appreciate the balanced sweetness. Plus, it is highly customizable, so you can adapt it to different holidays or flavor preferences effortlessly.
Ingredients
To make this delicious dessert, you will need the following ingredients:
- 1 package 14 oz Oreo cookies crushed
- 1 package 8 oz cream cheese softened
- 1 quarter cup unsalted butter softened
- 1 cup powdered sugar
- 1 package 3.4 oz instant vanilla pudding mix
- 2 cups Lifeway Kefir optional
- 1 container 8 oz whipped topping thawed
- 1 cup pastel colored candy coated chocolates
- 1 half cup mini Oreo cookies
Step-by-Step How to Make No Bake Dirt Cake Casserole
- Start by preparing the creamy base. In a medium bowl, beat the softened cream cheese, butter, and powdered sugar until the mixture becomes smooth and fluffy with no lumps remaining.
- In a separate small bowl, whisk together the instant pudding mix and Lifeway Kefir until it thickens to a creamy consistency. This step adds a slight tang and extra richness to the dessert.
- Next, combine the two mixtures by folding the pudding gently into the cream cheese mixture. Once blended, carefully fold in the whipped topping until everything is light and airy.
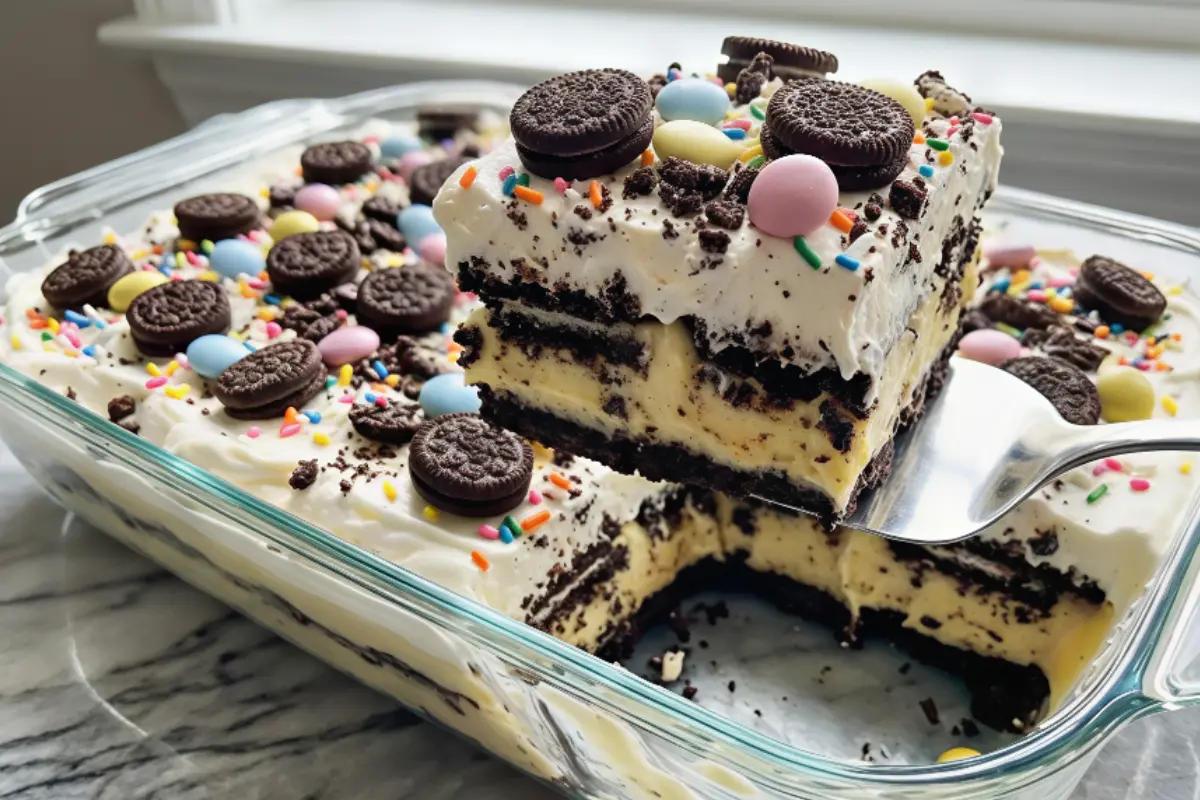
- Now it is time to assemble. Spread half of the crushed Oreo cookies evenly across the bottom of a casserole dish to form the base layer. Add the creamy pudding mixture on top, smoothing it out evenly.
- Finish by sprinkling the remaining crushed Oreos over the top layer. Garnish with mini Oreos and pastel candy coated chocolates for a festive look.
- Place the casserole in the refrigerator and let it chill for at least two hours before serving to allow the layers to set properly.
Helpful Tips
For the best texture, make sure your cream cheese and butter are fully softened before mixing. This ensures a smooth filling without lumps. When crushing the Oreos, aim for a mix of fine crumbs and small chunks to add texture. Do not skip the chilling time, as it helps the dessert firm up and enhances the flavor. If you want a cleaner presentation, use a glass dish to show off the beautiful layers. Also, fold the whipped topping gently to keep the mixture light and fluffy.
Substitutions And Variations
You can easily customize this recipe based on your preferences. Swap vanilla pudding for chocolate pudding if you want a richer flavor. If you do not have kefir, milk works just as well. For a lighter version, use low fat cream cheese and whipped topping. You can also switch Oreos with any chocolate sandwich cookies. To make it more festive, try adding gummy worms for a classic dirt cake theme or change the candy colors to match different holidays.
Storage Instructions
Store any leftovers in an airtight container or cover the casserole dish tightly with plastic wrap. Keep it refrigerated and consume within three to four days for the best taste and texture. Avoid leaving it at room temperature for long periods, as the creamy layers can soften too much. This dessert is not ideal for freezing because the texture of the whipped topping may change once thawed.
Nutritional Information
Per Serving Approximate:
Serving Size 1 portion
Calories 320 kcal
Total Fat 16 g
Saturated Fat 9 g
Carbohydrates 38 g
Sugar 24 g
Protein 4 g
Fiber 1 g
Sodium 220 mg
Serving Suggestions
Serve this No Bake Dirt Cake Casserole chilled for the best flavor and texture. It pairs wonderfully with fresh fruit like strawberries or raspberries to balance the sweetness. You can also serve it in individual cups for a more elegant presentation at parties. For an extra touch, add a dollop of whipped cream on top just before serving. This dessert is perfect for Easter brunch, potlucks, or as a fun after dinner treat.
Frequently Asked Questions About No Bake Dirt Cake Casserole
Can I make this dessert ahead of time?
Yes, this recipe is perfect for making ahead. Prepare it the day before and keep it refrigerated until serving.
Can I use homemade whipped cream instead of whipped topping?
Absolutely. Homemade whipped cream works well, but make sure it is stabilized so the dessert holds its shape.
What can I use instead of kefir?
You can substitute milk or even a milk and yogurt mix for a similar creamy texture.
How long does it need to chill?
At least two hours is recommended, but overnight chilling gives even better results.
Can I make this dessert without cream cheese?
Cream cheese adds richness, but you can substitute it with mascarpone for a slightly different flavor.
Is this recipe kid-friendly?
Yes, kids love both the taste and the fun decoration options, making it a great family dessert.
Final Thoughts
Thank you so much for taking the time to try this No Bake Dirt Cake Casserole. It is one of those desserts that brings joy with every bite, combining ease, flavor, and a touch of fun in every layer. I truly love how simple it is to prepare while still feeling special enough for celebrations. I hope this recipe becomes a favorite in your home just as it is in mine. Enjoy every spoonful, share it with loved ones, and happy cooking!
Join us on Pinterest for new mouthwatering recipes every day!
Print
No Bake Dirt Cake Casserole
- Total Time: 2 hours 15 minutes
- Yield: 10 servings 1x
- Diet: Vegetarian
Description
No Bake Dirt Cake Casserole is a creamy layered dessert made with crushed Oreos, fluffy cream cheese filling, and smooth pudding. This easy no bake recipe is perfect for Easter, parties, or any sweet craving.
Ingredients
1 package 14 oz Oreo cookies crushed
1 package 8 oz cream cheese softened
1 quarter cup unsalted butter softened
1 cup powdered sugar
1 package 3.4 oz instant vanilla pudding mix
2 cups Lifeway Kefir optional
1 container 8 oz whipped topping thawed
1 cup pastel colored candy coated chocolates
1 half cup mini Oreo cookies
Instructions
- Start by preparing the creamy base. In a medium bowl, beat the softened cream cheese, butter, and powdered sugar until the mixture becomes smooth and fluffy with no lumps remaining.
- In a separate small bowl, whisk together the instant pudding mix and Lifeway Kefir until it thickens to a creamy consistency. This step adds a slight tang and extra richness to the dessert.
- Next, combine the two mixtures by folding the pudding gently into the cream cheese mixture. Once blended, carefully fold in the whipped topping until everything is light and airy.
- Now it is time to assemble. Spread half of the crushed Oreo cookies evenly across the bottom of a casserole dish to form the base layer. Add the creamy pudding mixture on top, smoothing it out evenly.
- Finish by sprinkling the remaining crushed Oreos over the top layer. Garnish with mini Oreos and pastel candy coated chocolates for a festive look.
- Place the casserole in the refrigerator and let it chill for at least two hours before serving to allow the layers to set properly.
Notes
Make sure cream cheese and butter are fully softened for a smooth texture.
Chill longer for a firmer consistency and better flavor.
You can substitute milk for kefir if preferred.
Use a glass dish for a visually appealing layered presentation.
- Prep Time: 15 minutes
- Cook Time: Chill Time 2 hours
- Category: Dessert
- Method: No-Bake
- Cuisine: American