
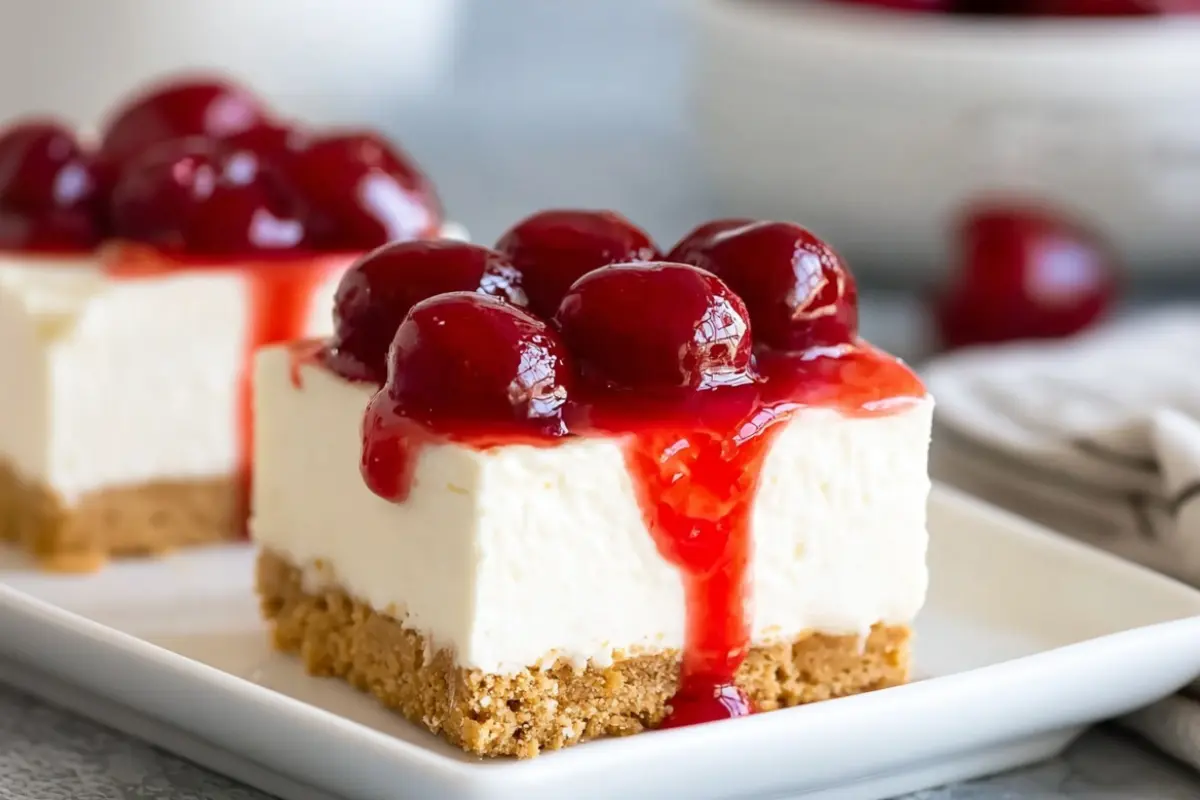
No-Bake Cherry Cheesecake Bars are creamy, tangy, and incredibly satisfying—all without having to fire up your oven. This easy-to-follow recipe brings together a buttery graham cracker crust, luscious cheesecake filling, and a bright cherry topping, perfect for warm days or when you’re short on time. In just a few simple steps, you can create a crowd-pleasing dessert that’s ready after a quick chill. The seamless process makes it ideal for beginners and seasoned bakers alike—no baking, no fuss, just pure deliciousness in bar form!
Why You’ll Love This No-Bake Cherry Cheesecake Bars
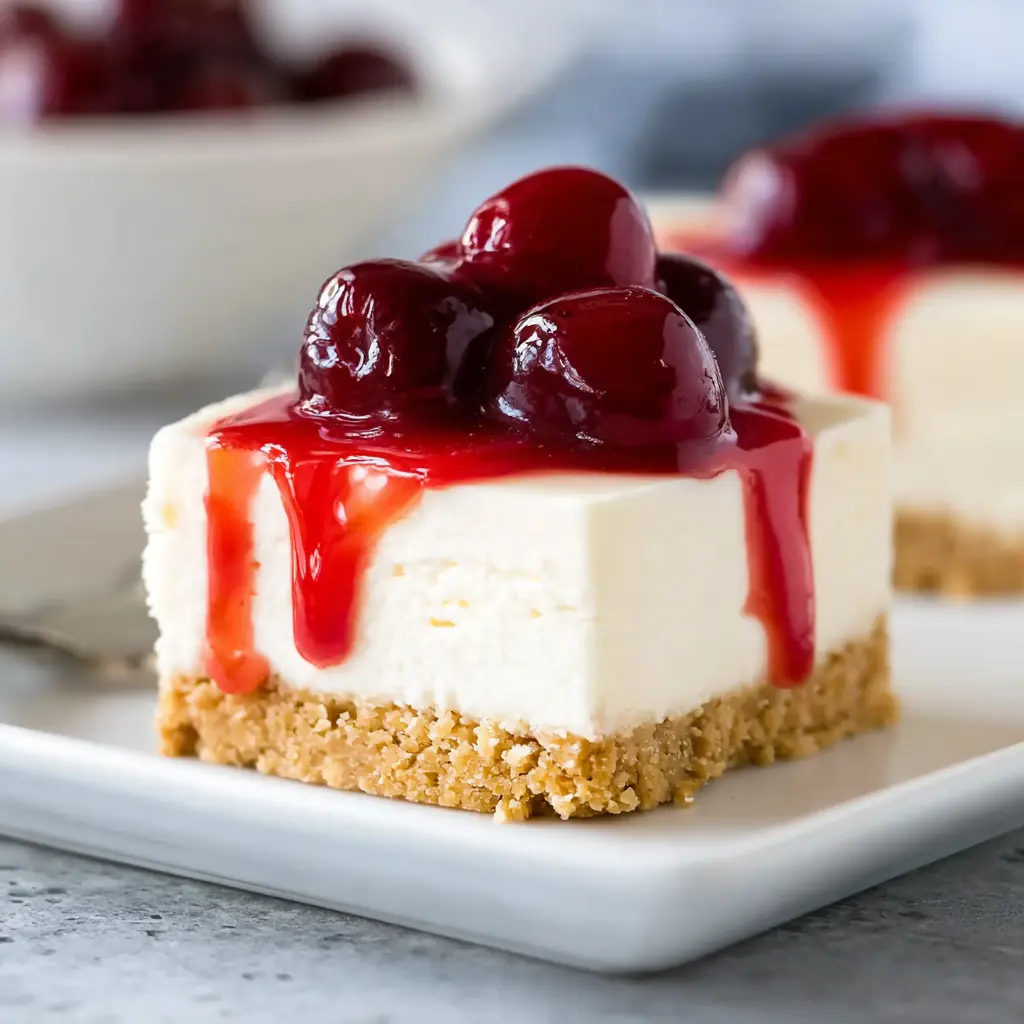
These No-Bake Cherry Cheesecake Bars are a dream come true for cheesecake lovers who want a hassle-free dessert. No oven means minimal cleanup, and the chilling time gives you a chance to prep ahead. The creamy, tangy cheesecake filling pairs beautifully with the sweet-tart cherry topping, offering contrasting textures and flavors in every bite. Plus, they look gorgeous on any dessert table—effortless yet indulgent. Whether you’re hosting a gathering or craving a slice for yourself, these bars are sure to impress.
Ingredients
For the Graham Cracker Crust
- 1 ¼ cups graham cracker crumbs
- 2 tablespoons granulated sugar
- ⅓ cup unsalted butter, melted
For the Cheesecake Filling
- 1 cup whipping cream*
- 16 oz brick-style cream cheese* (room temperature)
- ¾ cup powdered sugar
- 1 teaspoon vanilla extract
- 2 teaspoons freshly squeezed lemon juice
- 1 jar cherry pie filling
*See helpful tips for substitutions and notes on ingredient types.
Step-by-Step: How to Make No-Bake Cherry Cheesecake Bars
- Prepare the Pan: Line an 8×8 or 9×9-inch square baking pan with aluminum foil, leaving extra foil hanging over the edges to make lifting the bars out easier later on.
- Make the Crust: In a medium-sized bowl, combine the graham cracker crumbs, granulated sugar, and melted butter. Stir until well blended.
- Press the Crust: Firmly press the crumb mixture into the bottom of the prepared pan to form an even base. A flat-bottomed measuring cup works great for pressing it down evenly.
- Prepare the Filling: In a separate bowl, beat the cream cheese (at room temperature) until smooth and creamy. Add the powdered sugar, vanilla extract, and freshly squeezed lemon juice. Mix until fully combined and silky in texture.
- Incorporate the Cream: Gently fold the whipped cream into the cream cheese mixture using a rubber spatula, being careful not to deflate the mixture. Stir until smooth and uniform.
- Assemble the Bars: Spread the cheesecake filling over the graham cracker crust, smoothing the top with a spatula for a clean finish.
- Chill to Set: Cover and refrigerate the cheesecake bars for a minimum of 6 hours, or ideally overnight, so they set completely.
- Slice and Serve: When ready to serve, use the foil overhang to lift the cheesecake out of the pan and onto a cutting board. Slice into bars using a hot knife wiped clean between cuts.
- Serving Ideas:
- Serve directly from the refrigerator for a chilled, refreshing dessert.
- Top each bar with a dollop of whipped cream and a mint leaf for a pretty presentation.
- Cut into small cubes for party-ready, bite-sized treats.
Note: If using a pre-made graham cracker crust, you can skip the crust-pressing step entirely.
Helpful Tips
- Room Temperature Cream Cheese: Allow it to sit at room temp for smoother mixing and no lumps.
- Whipping the Cream: Don’t overbeat—stop when stiff peaks form to ensure a light, airy filling.
- Even Crust: Use the back of a measuring cup to press the crumb mixture evenly in the pan.
- Chill Time: Six hours is the minimum—overnight refrigeration ensures bars hold their shape for clean slicing.
- Clean Cuts: For perfect-looking slices, dip your knife in hot water, wipe dry, then slice between dips.
Substitutions And Variations
- Whipping Cream Alternative: Swap with 1 ½ cups thawed Cool Whip. Skip whipping the cream and gently fold in the Cool Whip in step 5.
- Different Toppings: Try strawberry pie filling, lemon curd, or fresh berries instead of cherry topping.
- Flavor Twist: Add a swirl of Nutella or raspberry sauce into the filling before chilling for a flavor surprise.
- Gluten-Free Version: Use gluten-free graham cracker crumbs or ground gluten-free cookies in the crust.
- Lighter Version: Though full-fat ingredients are recommended for best texture, you may experiment with reduced-fat brick-style cream cheese. However, texture may be slightly less rich.
Storage Instructions
Store the bars in the refrigerator, covered, for up to 4 days. Avoid freezing, as the topping can become watery or crystalized upon thawing, affecting texture and flavor.
Nutritional Information
- Calories: 318 kcal
- Carbohydrates: 18 g
- Protein: 3 g
- Fat: 26 g (Saturated Fat: 15 g)
- Cholesterol: 82 mg
- Sodium: 187 mg
- Potassium: 83 mg
- Fiber: 1 g
- Sugar: 13 g
- Vitamin A: 957 IU
- Vitamin C: 1 mg
- Calcium: 58 mg
- Iron: 1 mg
This creamy dessert offers a tempting balance of sweetness and richness—enjoy in moderation!
Serving Suggestions
- Serve straight from the fridge for a cool, refreshing treat.
- Add a dollop of whipped cream and a fresh mint leaf on each bar for a touch of elegance.
- Pair with a cup of coffee, iced tea, or sparkling water to balance the richness.
- Cube them and serve as bite-sized cheesecake desserts at parties or buffet-style gatherings.
Frequently Asked Questions About No-Bake Cherry Cheesecake Bars
Q: Can I use pre-made graham cracker crust instead of making my own?
A: Yes! You can use a store-bought graham cracker crust as a convenient shortcut—just ensure it’s the same size (8×8 or 9×9 inch) and skip the crust steps entirely. Pressing the crust isn’t required with a formed crust.
Q: What’s the best way to keep these bars from falling apart when serving?
A: Use the foil overhang to lift the entire set from the pan. Chill well before slicing, and use a clean, hot knife (wiping between cuts) for sharp, clean edges.
Q: How long can leftovers stay good?
A: Stored in the fridge, leftovers stay fresh for up to 4 days. Avoid freezing—they may become soggy or have altered texture after thawing.
Q: Can I make this without any dairy or use a dairy-free substitute?
A: Making dairy-free versions is tricky. While there are plant-based cream cheese alternatives and vegan whipped toppings, they vary in behavior. If trying them, be aware that texture and flavor may differ from the original.
This section adds detail in approximately 150 words to help answer your most pressing questions!
Conclusion
Thank you so much for trying these No-Bake Cherry Cheesecake Bars—I truly hope each creamy, fruity bite brings you joy! I absolutely love how simple yet elegant this dessert is, especially on busy days or when you crave something special without the hassle. The vibrant cherry topping adds a cheerful pop of flavor to each smooth, velvety bar. Wishing you sweet success and happy moments as you make and share this dessert. Enjoy every slice, and thank you for being part of our food-loving community—happy baking!
Join us on Pinterest for new mouthwatering recipes every day!
Print
No-Bake Cherry Cheesecake Bars
- Total Time: 6 hours 20 minutes
- Yield: 12 bars 1x
Description
Creamy, smooth, and topped with sweet cherry pie filling, these No-Bake Cherry Cheesecake Bars are the ultimate easy dessert for any season. Made with a graham cracker crust and a velvety cheesecake layer, this no-oven-needed recipe is perfect for quick entertaining or satisfying your sweet tooth. Chill, slice, and enjoy!
Ingredients
Crust:
1 ¼ cups graham cracker crumbs
2 tablespoons granulated sugar
⅓ cup unsalted butter, melted
Cheesecake Filling:
1 cup whipping cream
16 oz brick-style cream cheese (room temp)
¾ cup powdered sugar
1 teaspoon vanilla extract
2 teaspoons lemon juice (fresh)
1 jar cherry pie filling
Instructions
- Prepare the Pan: Line an 8×8 or 9×9-inch square baking pan with aluminum foil, leaving extra foil hanging over the edges to make lifting the bars out easier later on.
- Make the Crust: In a medium-sized bowl, combine the graham cracker crumbs, granulated sugar, and melted butter. Stir until well blended.
- Press the Crust: Firmly press the crumb mixture into the bottom of the prepared pan to form an even base. A flat-bottomed measuring cup works great for pressing it down evenly.
- Prepare the Filling: In a separate bowl, beat the cream cheese (at room temperature) until smooth and creamy. Add the powdered sugar, vanilla extract, and freshly squeezed lemon juice. Mix until fully combined and silky in texture.
- Incorporate the Cream: Gently fold the whipped cream into the cream cheese mixture using a rubber spatula, being careful not to deflate the mixture. Stir until smooth and uniform.
- Assemble the Bars: Spread the cheesecake filling over the graham cracker crust, smoothing the top with a spatula for a clean finish.
- Chill to Set: Cover and refrigerate the cheesecake bars for a minimum of 6 hours, or ideally overnight, so they set completely.
- Slice and Serve: When ready to serve, use the foil overhang to lift the cheesecake out of the pan and onto a cutting board. Slice into bars using a hot knife wiped clean between cuts.
- Serving Ideas:
- Serve directly from the refrigerator for a chilled, refreshing dessert.
- Top each bar with a dollop of whipped cream and a mint leaf for a pretty presentation.
- Cut into small cubes for party-ready, bite-sized treats.
Note: If using a pre-made graham cracker crust, you can skip the crust-pressing step entirely
Notes
Full-fat brick-style cream cheese works best for structure.
Cool Whip can replace whipping cream (use 1 ½ cups).
Don’t freeze; store chilled for up to 4 days.
Recipe can be doubled for a 9×13 pan.
- Prep Time: 20 minutes
- Cook Time: 0 minutes
Nutrition
- Serving Size: 1 bar
- Calories: 318
- Sugar: 13g
- Carbohydrates: 18g
- Protein: 3g