

In the bustling world of quick meals and culinary adventures, the humble Hot Pocket stands out as a beloved snack, adored for its convenience and comforting flavors. But why settle for store-bought when you can craft this delightful treat in the cozy confines of your kitchen? This comprehensive guide will walk you through the art of making homemade Hot Pockets, transforming them from a simple snack into a gourmet experience. From kneading the perfect dough to exploring a medley of fillings, we’ll cover it all. So, roll up your sleeves and get ready to elevate your snack game!
Making Homemade Hot Pockets – An Introduction
What Are Hot Pockets?
Hot Pockets, those iconic, microwaveable turnovers, have been a staple in freezers across the globe. Known for their crispy crusts and molten centers, they’re the go-to snack for anyone needing a quick, tasty bite. But there’s something undeniably special about making them from scratch. It’s not just about the fresh ingredients or the absence of preservatives; it’s about infusing your personal touch into every savory pocket.
The Appeal of Homemade Versions
Ah, the joys of homemade cooking! Crafting Hot Pockets in your kitchen allows for a whirlwind of creativity. You’re not just limited to the classic ham and cheese; the sky’s the limit! Think outside the box with fillings like buffalo chicken, spinach, and feta, or even sweet options like apple-cinnamon. Plus, when you make them at home, you control the quality of ingredients, ensuring a healthier, more nutritious snack. Let’s not forget the fun of involving family and friends in the cooking process, turning a simple snack preparation into a delightful bonding activity.
Essential Ingredients for DIY Hot Pockets
Ingredients List
Creating the perfect Hot Pocket begins with gathering the right ingredients. You’ll need:
- Flour: The foundation of your dough. All-purpose flour works wonders, but feel free to experiment with whole wheat for a healthier twist.
- Yeast: For that perfect rise. Active dry yeast is commonly used, but instant yeast can also do the trick.
- Water and Milk: These liquids will bring your dough together. Milk adds a touch of richness.
- Butter: For a flaky, buttery crust. Unsalted butter allows you to control the saltiness.
- Salt and Sugar: Essential for flavor balance.
- Fillings: This is where you can get creative! Cheese, meats, vegetables, or even fruit fillings for a sweet version.
Required Kitchen Equipment
Equally important are the tools of the trade. Ensure you have:
- A large mixing bowl: For combining your dough ingredients.
- A rolling pin: Essential for rolling out your dough to the perfect thickness.
- A knife or dough cutter: To cut your dough into even squares.
- Baking sheets: Lined with parchment paper for a non-stick baking experience.
- An oven or air fryer: Depending on your cooking preference.
With your ingredients and tools at the ready, you’re all set to embark on the exciting journey of dough preparation. Remember, the key to a great Hot Pocket is in the dough, so let’s make it count! For more inspiration on dough preparation and unique recipes, check out this Alabama Hot Pockets Recipe.
Preparing the Perfect Dough
Dough Recipe and Tips
The heart of a great Hot Pocket lies in its dough. Here’s a simple yet effective recipe:
- Combine 2 cups of all-purpose flour, 1 teaspoon of sugar, and 1 teaspoon of salt in a large bowl.
- In a separate bowl, mix ¾ cup of warm water with 2 tablespoons of melted unsalted butter and 1 teaspoon of active dry yeast. Let it sit for about 5 minutes until it becomes frothy.
- Gradually add the wet ingredients to the dry, mixing until a dough forms.
- Knead the dough on a floured surface for about 10 minutes until it’s smooth and elastic.
- Place the dough in a greased bowl, cover it with a cloth, and let it rise in a warm place for about an hour, or until it doubles in size.
Tip: The key to perfect dough is patience. Don’t rush the kneading and rising processes, as they ensure your dough has the right texture and fluffiness.
Rolling and Cutting the Dough
Once your dough has risen:
- Punch it down gently and roll it out on a floured surface. Aim for about ¼ inch thickness.
- Cut the dough into squares or rectangles, depending on your preferred Hot Pocket size.
Remember, the thickness of your dough will dictate the texture of your Hot Pocket. Too thin, and it might tear; too thick, and it might not cook evenly.
Choosing and Preparing Your Fillings
Classic Fillings
When it comes to Hot Pocket fillings, the classics are a great place to start. Here are some tried-and-true favorites:
- Ham and Cheese: A timeless combination. Opt for quality ham and a blend of cheeses like cheddar and mozzarella for a gooey, satisfying filling.
- Pepperoni Pizza: Fill with slices of pepperoni, a spoonful of marinara sauce, and a generous helping of mozzarella.
- Broccoli and Cheddar: For a vegetarian option, mix steamed broccoli with cheddar cheese. It’s simple yet delicious.
Creative and Healthy Alternatives
Don’t be afraid to experiment with your fillings. Here are some ideas to spark your imagination:
- Spinach and Feta: A Greek-inspired twist, combining sautéed spinach with crumbled feta cheese.
- BBQ Chicken: Shredded chicken mixed with BBQ sauce, a dash of onion, and cheddar cheese for a tangy, savory pocket.
- Apple-Cinnamon: For a sweet version, mix diced apples with cinnamon and a touch of sugar.
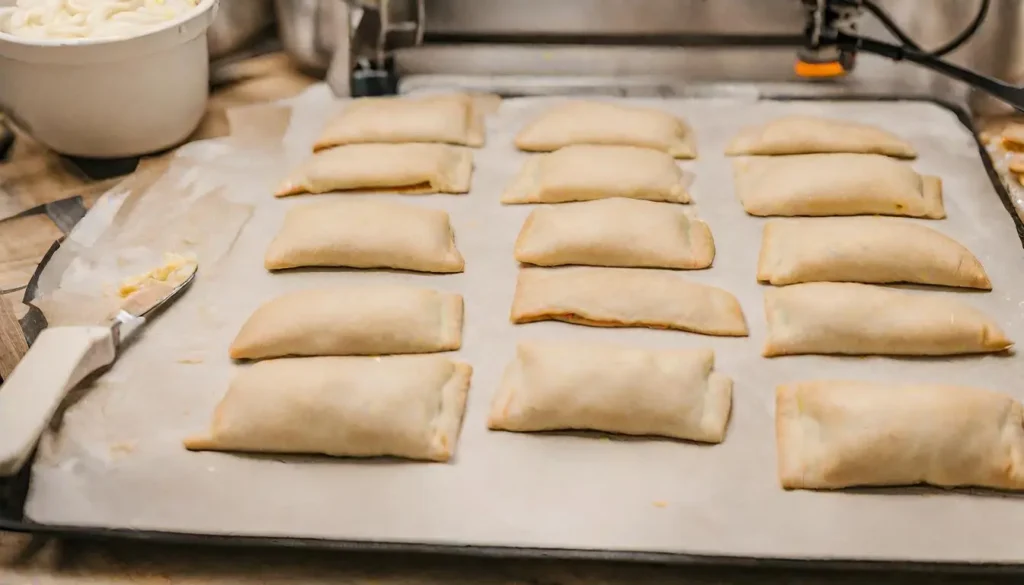
Assembling and Baking Your Homemade Snack Recipes
Filling and Sealing Techniques
Once you’ve chosen your fillings, it’s time to assemble:
- Place a spoonful of your filling in the center of each dough square.
- Fold the dough over the filling to form a rectangle or triangle, depending on your cut.
- Crimp the edges with a fork to seal your Hot Pocket securely. This step is crucial to prevent the filling from leaking out during baking.
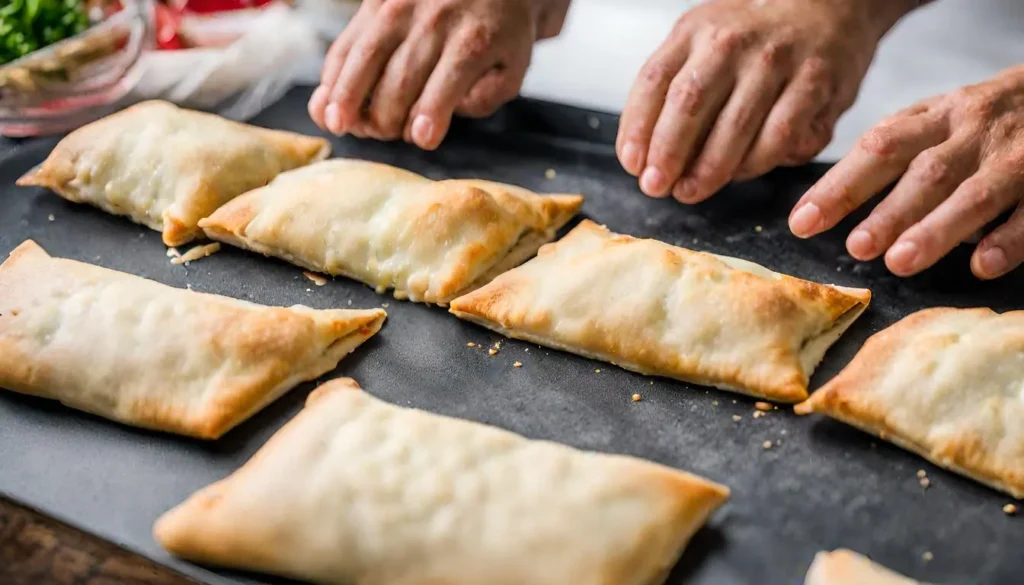
Baking vs. Air Frying
You have two great cooking options:
- Baking: Preheat your oven to 375°F (190°C). Place your Hot Pockets on a baking sheet and cook for about 20-25 minutes or until golden brown.
- Air Frying: For a crispier texture, air fry your Hot Pockets at 350°F (175°C) for 8-10 minutes.
Tip: Brushing the tops of your Hot Pockets with a bit of beaten egg or melted butter before cooking will give them a beautiful golden sheen.
Serving and Storage Tips for Homemade Hot Pockets
Best Ways to Serve
Hot Pockets are best enjoyed fresh and hot. Here are some serving suggestions:
- Straight from the Oven: Let them cool for a few minutes, but serve them while they’re still warm and the cheese is gooey.
- With Dipping Sauces: Marinara, ranch, or garlic butter can elevate the flavors.
- As a Meal: Pair with a side salad or soup for a more substantial meal.
Storing and Reheating
If you have leftovers or made a big batch:
- Cool Completely: Before storing, let your Hot Pockets cool to room temperature.
- Refrigerate or Freeze: Store them in an airtight container. They’ll last up to 3 days in the fridge or 2 months in the freezer.
- Reheat Properly: Reheat in the oven or air fryer for the best texture. Microwaving can make them soggy.
For more information on food safety and storage, check out FoodSafety.gov, which offers valuable guidelines to ensure your homemade snacks remain delicious and safe to eat.
Nutritional Insights for Healthy Homemade Hot Pockets
Caloric and Nutritional Breakdown
Homemade Hot Pockets give you control over the nutritional content. Here’s a general breakdown for the classic varieties:
- Calories: Varies based on fillings, but generally ranges from 250 to 400 calories per pocket.
- Carbohydrates: Mostly from the dough, with an average of 30-40 grams.
- Proteins and Fats: Depend on the fillings. Cheese and meat increase protein and fat content.
Making Healthier Choices
To make your Hot Pockets healthier:
- Opt for Whole Grains: Use whole wheat flour for added fiber.
- Choose Lean Proteins: Such as chicken breast or turkey.
- Increase Veggies: Add more vegetables to your fillings for nutrients and fewer calories.
- Reduce Cheese: Or use low-fat options.
For more detailed nutritional information and guidelines, MyPlate.gov is an excellent resource. It provides comprehensive dietary recommendations to help you balance your meals.
FAQs on Making Homemade Hot Pockets
Can I Make Hot Pockets Ahead of Time?
Absolutely! You can prepare and assemble your Hot Pockets, then store them in the refrigerator for up to 2 days before baking. For longer storage, freeze them and bake straight from the freezer, adding a few extra minutes to the cooking time.
What Are Some Vegan Filling Options?
Vegan Hot Pockets are delicious and easy to make. Consider fillings like sautéed vegetables, vegan cheese, plant-based meats, or even a combination of beans and rice for a hearty option.
How Can I Ensure My Hot Pockets Don’t Get Soggy?
To avoid sogginess, make sure your fillings aren’t too wet. If using ingredients like vegetables, sauté them first to remove excess moisture. Also, baking or air frying gives a crisper texture compared to microwaving.
Can I Use Store-Bought Dough?
Yes, you can use store-bought pizza or pastry dough as a time-saving alternative. Just be sure to roll it out to the appropriate thickness and follow the same assembly and cooking instructions.
Are Homemade Hot Pockets Healthier Than Store-Bought?
Generally, homemade Hot Pockets can be healthier as you control the ingredients. You can opt for whole grains, lean proteins, and fresh vegetables, reducing preservatives and artificial additives.
How Do I Keep My Hot Pockets from Bursting Open While Cooking?
Proper sealing is key. Crimp the edges firmly with a fork and avoid overfilling. Also, making a small slit on top as a vent can help release steam and prevent bursting.
Can I Make Sweet Hot Pockets?
Definitely! Sweet fillings like fruit compotes, Nutella, or sweetened cream cheese can turn your Hot Pocket into a delightful dessert.
Conclusion: Embracing the Art of Homemade Hot Pockets
In the world of quick and comforting snacks, mastering the art of making homemade Hot Pockets is a delightful endeavor. It’s a journey that combines creativity, culinary skills, and the joy of sharing delicious, warm treats with loved ones. Whether you stick to the classic fillings or venture into more adventurous or healthier alternatives, the process is as rewarding as the outcome.
Remember, the beauty of homemade cooking lies in the flexibility to tailor recipes to your preferences and dietary needs. By choosing your ingredients, you’re not just crafting a snack; you’re ensuring a healthier, preservative-free option for yourself and your family. The versatility of Hot Pockets makes them perfect for any meal, whether it’s a quick lunch, a fun dinner, or even a unique dessert.