

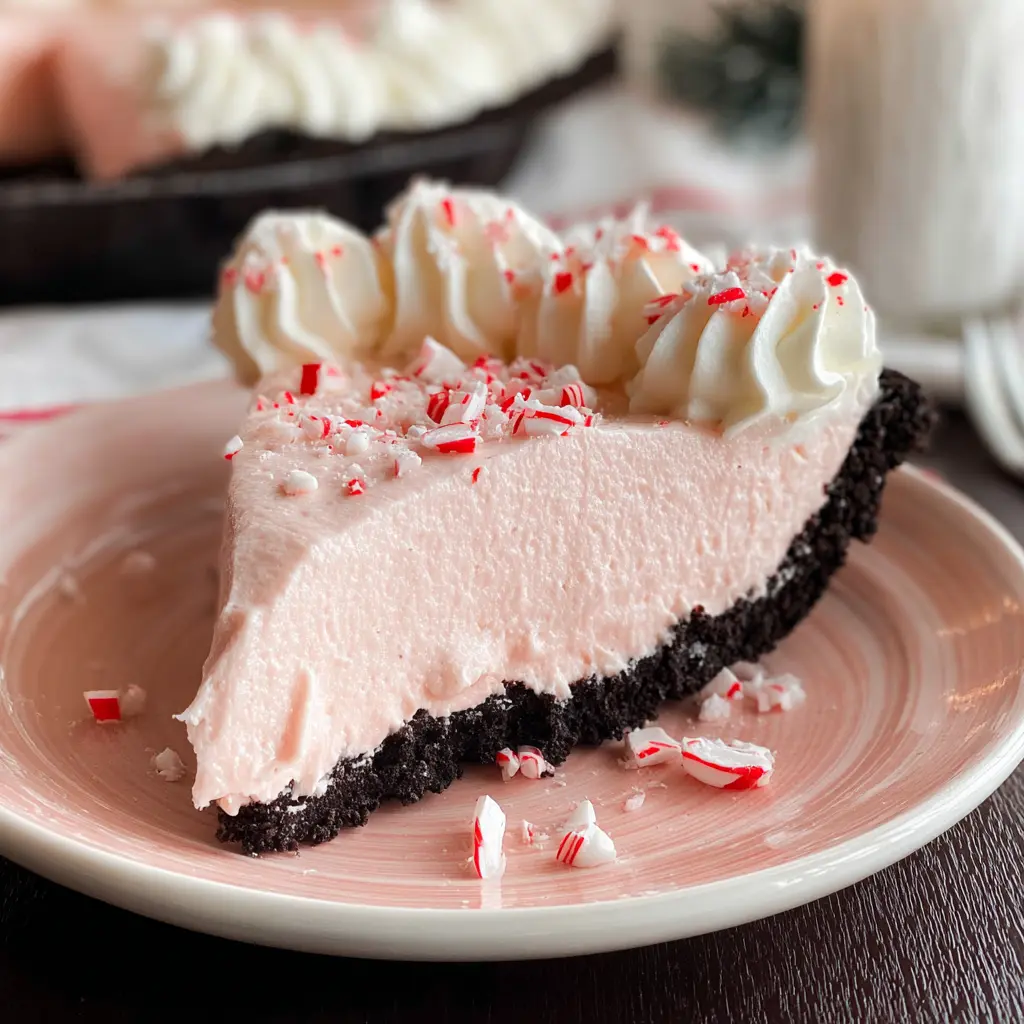
No Bake Peppermint Pie Recipe is a refreshing and festive dessert that hits all the right notes: cool peppermint flavor, creamy vanilla filling, and a crisp cookie crust. Whether you’re serving it at a holiday gathering or just craving something minty and sweet, this pie delivers. With simple ingredients and minimal prep, you’ll have a delightful treat that looks as good as it tastes—and your guests will rave.
Why You’ll Love This No Bake Peppermint Pie
- The crisp cookie crust made from Oreo cookies adds rich, chocolatey texture without much fuss.
- The vanilla instant pudding, milk, and Cool Whip base give a smooth, light filling that melts in your mouth.
- Peppermint extract and a hint of red coloring make this pie festive and visually fun—perfect for holidays or any time you want a little peppermint twist.
- You can make it ahead (up to two days!), which means less stress on the day you serve it.
- It’s beginner-friendly: no baking required, and it comes together quickly with ingredients you likely already have.
Ingredients
Pie Crust
- 5 tablespoons butter
- 22 Oreo cookies (not Double Stuf)
Pie Filling
- 3.4 oz instant vanilla pudding mix
- ¾ cup milk
- 5 drops red gel food coloring
- ½ teaspoon peppermint extract
- 2 cups Cool Whip, thawed (plus extra for topping)
Step‑by‑Step: How to Make No Bake Peppermint Pie
Pie Crust
- Crush the 22 Oreo cookies in a food processor or place them in a freezer bag and use a rolling pin until finely crumbed.
- Melt the 5 tablespoons of butter.
- Mix the melted butter with the cookie crumbs until the mixture resembles wet sand.
- Spray a 9‑inch pie pan with non‑stick spray. Press the cookie‑butter mixture into the bottom (and optionally up the sides) of the pie plate using a large spoon or the bottom of a measuring cup to compact it.
- Place the crust in the freezer while you prepare the filling.
Pie Filling
- In a large mixing bowl, pour the dry vanilla pudding mix.
- Add the ¾ cup milk and beat with an electric mixer on medium speed until well combined.
- Add the 5 drops of red gel food coloring and mix until the color is evenly distributed.
- Add the ½ teaspoon peppermint extract and mix well.
- Gently fold in the 2 cups of thawed Cool Whip using a spatula until everything is well blended—take care not to over‑mix.
- Spoon the filling into the prepared cookie crust and smooth the top so it’s nice and even.
- Chill the pie in the refrigerator for a minimum of 4 hours, or ideally overnight, until it is fully set.
- On the day of serving, decorate the pie with additional Cool Whip and some crushed peppermint candies (note: do this just before serving so the peppermint stays crisp).
Helpful Tips
- Make sure the Cool Whip is fully thawed before mixing so it folds in smoothly.
- Use the measuring cup trick to press the crust evenly and firmly—this helps prevent it from crumbling when you slice the pie.
- After adding the peppermint extract, taste a small spoonful to check the flavor—peppermint can be strong, so adjust slightly if needed (though the given amount works well).
- When smoothing the filling top, use the back of a spoon or an offset spatula for a clean finish.
- If you plan to make this ahead, cover the pie loosely with plastic wrap and keep it chilled; but wait to add the crushed peppermint topping until right before serving so it retains its crunch.
Substitutions And Variations
- For a gluten‑free option: use gluten‑free chocolate cookies instead of Oreos for the crust.
- For extra mint flavor: you could add ¼ teaspoon of peppermint extract instead of ½ teaspoon, but be careful—too much can overpower.
- To make it more festive: swirl in crushed candy canes into the filling before chilling, or layer them on top for decoration.
- For a chocolate twist: mix ¼ cup of cocoa powder into the pudding mix for a peppermint‑chocolate version.
- If you don’t want to use food coloring: omit the red gel drops and simply top with peppermint candies for the color cue.
- For a lighter version: you might use a reduced‑fat Cool Whip or substitute part of the filling with low‑fat whipped topping, though texture may vary slightly.
Storage Instructions
- Cover the pie loosely with plastic wrap (or use a pie plate with lid) and keep refrigerated.
- It will keep well for up to two days when made ahead.
- After serving, any leftover pie should be refrigerated and consumed within 2‑3 days for the best texture and flavor.
- Avoid freezing, as the whipped filling may separate or become watery when thawed.
Nutritional Information
Calories: ~301 kcal
Carbohydrates: ~40 g
Protein: ~3 g
Fat: ~15 g
Cholesterol: ~24 mg
Sodium: ~285 mg
Potassium: ~133 mg
Fiber: ~1 g
Sugar: ~27 g
Vitamin A: ~275 IU
Vitamin C: ~0.04 mg
Calcium: ~56 mg
Iron: ~4 mg
Serving Suggestions
- Serve slices with a light dusting of crushed peppermint candy or mini candy canes on top for festive flair.
- Pair this pie with hot cocoa or peppermint mocha for a cohesive mint‑themed dessert experience.
- For extra indulgence, scoop a small scoop of vanilla ice cream next to each slice.
- Garnish with fresh mint leaves or a drizzle of chocolate sauce to elevate presentation.
- Bring it to holiday gatherings, potlucks, or family dinners—its striking color and flavor will make it a crowd‑pleaser.
Frequently Asked Questions About No Bake Peppermint Pie
Can I make the pie ahead of time?
Yes, you can make the pie up to two days ahead of time. The key is to refrigerate it covered and add the crushed peppermint candy on the day of serving so it stays crisp.
What if I can’t find instant vanilla pudding mix?
If you can’t find the instant mix, you could substitute a homemade vanilla pudding that sets firmly, but note that texture may differ slightly compared with the convenience mix.
Can I use a store‑bought pie crust instead of making the cookie crust?
Absolutely. Using a pre‑made pie crust will simplify things further. Just follow the filling instructions and chill until set.
How strong will the peppermint flavor be?
The recipe calls for ½ teaspoon peppermint extract, which gives a noticeable minty flavor without being overwhelming. If you prefer a stronger mint taste, you could increase slightly, but do so cautiously.
Final Thoughts
Thank you so much for joining me in making this delightful peppermint pie. I absolutely love how the crisp chocolate cookie crust pairs with the smooth vanilla‑peppermint filling—it’s fun, festive, and surprisingly easy. I hope you find joy in preparing it, share it with loved ones, and savor every minty sweet bite. May your kitchen be filled with happy moments, delicious treats, and a warm sense of community. Here’s to effortless creation and memorable desserts—happy cooking and enjoy your peppermint pie!
Join us on Pinterest for new mouthwatering recipes every day!
Print
No Bake Peppermint Pie
- Total Time: 4 hours 15 minutes (including chill time)
- Yield: 8 slices 1x
Description
No Bake Peppermint Pie Recipe is an easy, no-bake holiday dessert with a chocolate cookie crust and cool peppermint filling. Perfect for make-ahead entertaining!
Ingredients
5 tablespoons butter
22 Oreo cookies (not Double Stuf)
3.4 oz instant vanilla pudding mix
¾ cup milk
5 drops red gel food coloring
½ teaspoon peppermint extract
2 cups Cool Whip, thawed (plus more for topping)
Instructions
Pie Crust
- Crush the 22 Oreo cookies in a food processor or place them in a freezer bag and use a rolling pin until finely crumbed.
- Melt the 5 tablespoons of butter.
- Mix the melted butter with the cookie crumbs until the mixture resembles wet sand.
- Spray a 9‑inch pie pan with non‑stick spray. Press the cookie‑butter mixture into the bottom (and optionally up the sides) of the pie plate using a large spoon or the bottom of a measuring cup to compact it.
- Place the crust in the freezer while you prepare the filling.
Pie Filling
- In a large mixing bowl, pour the dry vanilla pudding mix.
- Add the ¾ cup milk and beat with an electric mixer on medium speed until well combined.
- Add the 5 drops of red gel food coloring and mix until the color is evenly distributed.
- Add the ½ teaspoon peppermint extract and mix well.
- Gently fold in the 2 cups of thawed Cool Whip using a spatula until everything is well blended—take care not to over‑mix.
- Spoon the filling into the prepared cookie crust and smooth the top so it’s nice and even.
- Chill the pie in the refrigerator for a minimum of 4 hours, or ideally overnight, until it is fully set.
- On the day of serving, decorate the pie with additional Cool Whip and some crushed peppermint candies (note: do this just before serving so the peppermint stays crisp).
Notes
Use only 2 cups of Cool Whip for the filling.
Decorate with peppermint candies just before serving.
Pie can be made up to 2 days in advance.
Use a store-bought crust for a faster option.
- Prep Time: 15 minutes
- Cook Time: 0 minutes
- Category: Dessert
Nutrition
- Serving Size: 1 slice
- Calories: 301
- Sugar: 27g
- Carbohydrates: 40g
- Protein: 3g